
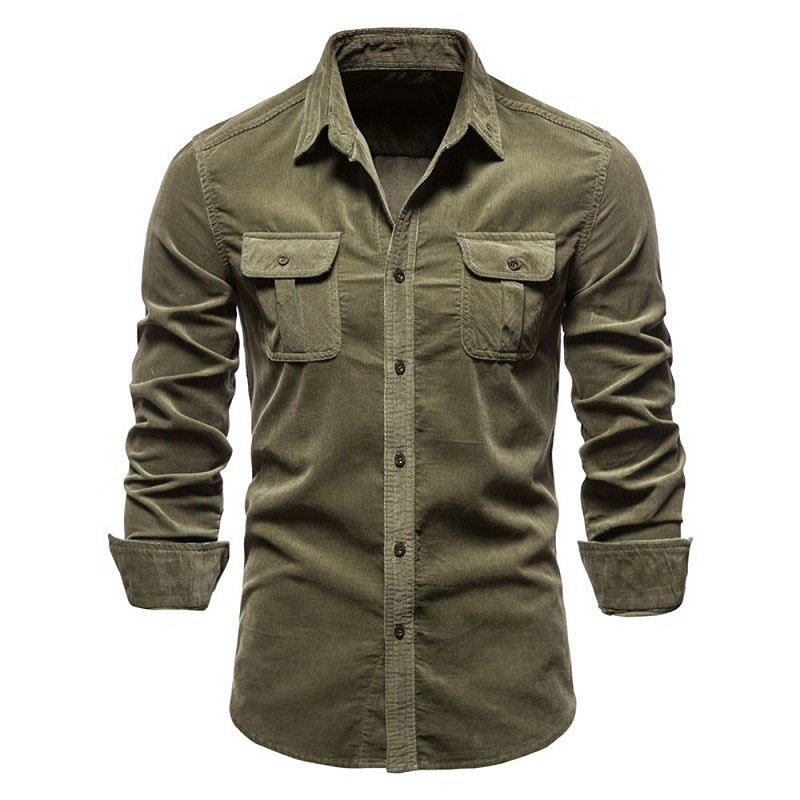
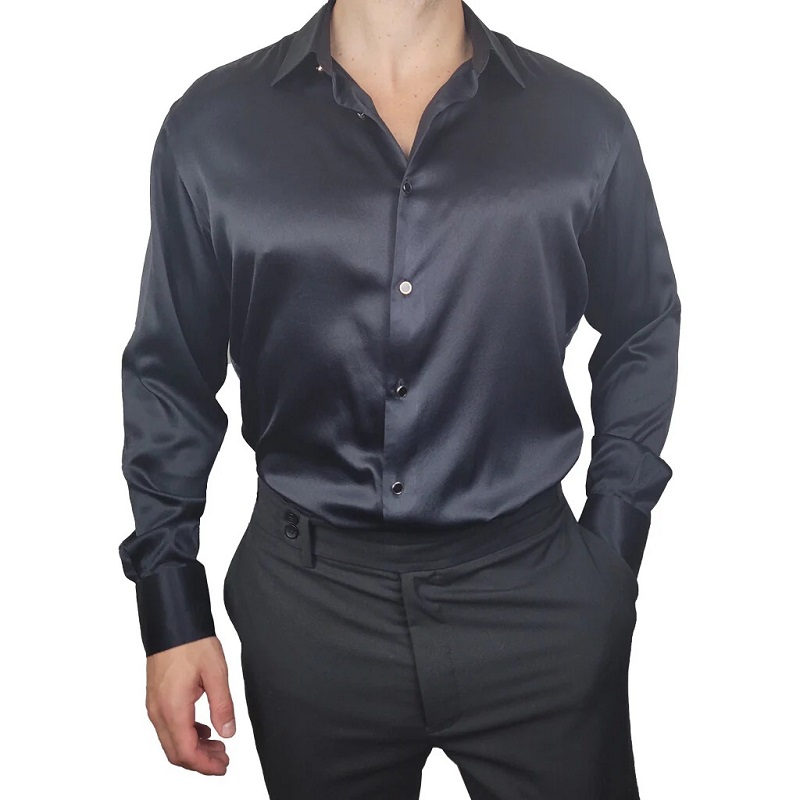
Importance of Hemming Shirts
For the fashion-conscious or those seeking a custom fit, hemming shirt techniques are paramount. This alteration not only tailors the garment to your unique body shape, but also extends the lifespan of your shirt by preventing fraying and wear. Properly hemmed shirts convey a sense of professionalism and attention to detail. They can elevate a casual outfit to one that is suitable for business or formal events. Additionally, mastering the art of hemming allows for personalization. You can adjust the length according to style preferences or functionality, such as making it shorter for better movement or longer for a different aesthetic.

Rolled Hem
A rolled hem provides a clean and delicate finish, ideal for lightweight or sheer fabrics. It rolls the fabric edge over itself to conceal fraying ends.
Blind Hem
Perfect for a nearly invisible finish, the blind hem involves stitching that is not seen from the front of the garment. It’s often used in formal shirts.
Double-fold Hem
This sturdy finish involves folding the fabric edge twice, which hides raw edges completely and adds weight to the hem for a sharper drape.
Single-fold Hem
Involving only one fold, it offers a quicker hemming process. It works well for casual shirts but may not be as durable as a double-fold.
Serged Hem
A serged hem is created with an overlock machine. It binds fabric edges, preventing fraying, and provides a professional finish.
Decorative Hem
When hemming shirts, match the hem style to the shirt’s fabric and intended use. Each type of hem finish serves a unique purpose and can transform the look of your shirt. A well-chosen hem finish enhances appearance and ensures the longevity of your garment.
Tools Needed for Hemming Shirts
To start hemming shirts with precision, you need the right tools. Some basic items are essential:
- Measuring Tape: It helps you measure the length accurately for uniform hems.
- Scissors: Sharp fabric scissors make clean cuts without fraying the material.
- Sewing Machine: A reliable machine ensures strong, straight stitches for durable hems.
- Iron and Ironing Board: Pressing the fabric creates crisp, flat hems and eases sewing.
- Straight Pins: They hold the fabric in place when measuring and sewing.
- Seam Ripper: This tool is handy for correcting mistakes without damaging the fabric.
- Thread: Match the thread color to your shirt for seamless stitches.
These tools enhance your ability to perform a quality hemming job. Using the correct equipment, hemming shirt tasks become simpler and the results more professional. Make sure to gather these before starting your hemming project.
Preparing the Shirt for Hemming
Before starting the actual [hemming shirt] process, preparation is vital for a seamless outcome. Here’s how to prepare your shirt for hemming:
Choose the Right Environment
Select a well-lit and flat surface to work on. Good lighting and a stable working area prevent mistakes during measuring and cutting.
Wash and Iron the Shirt
Always wash and iron the shirt before hemming. This step removes wrinkles and ensures accurate length adjustments. Shrinkage occurs after washing, so it’s critical to avoid changes post-hemming.
Lay the Shirt Flat
Spread the shirt on your surface without stretching it. Align the seams and edges to maintain the shirt’s original shape.
Mark the Desired Length
Wearing the shirt, determine the new hem length. Use pins or chalk to mark the spot, ensuring an even line around the shirt.
Step-by-Step Guide to Hemming a Shirt
Hemming a shirt can be straightforward if you follow these simple steps:
- Lay Out Your Shirt: Begin by laying your shirt flat on a table or ironing board.
- Measure the Length: Decide on your desired length. Use a measuring tape to mark it accurately.
- Iron the Hem: Press along the marked line to create a neat fold. This will be your guide.
- Pin the Fold: Secure the fold in place with straight pins to prevent it from moving.
- Trim Excess Fabric: If necessary, trim excess material, leaving enough for the hem allowance.
- Fold and Iron Again: Fold the hem up to the ironed line and press. Pin this fold as well.
- Sew the Hem: Stitch close to the inner folded edge with a sewing machine or by hand.
By following these steps, you can achieve a clean, professional hem on any shirt. Remember to go slow and ensure each step is done with precision for the best [hemming shirt] results.
Tips and Tricks for Professional Hemming Results
Achieving a professional finish when hemming a shirt requires attention to detail and practice. Here are tips and tricks that can help ensure your hems look great and last long:
- Choose the Right Thread: Pick a thread that matches your shirt color for a seamless look. Quality thread makes stronger hems.
- Test on Scrap Fabric: Before sewing on your shirt, practice your stitches on similar fabric. This will help you adjust tension and stitch length.
- Use a Template: For consistent hemlines, use cardboard or heavy paper as a template. This ensures even folding around the shirt.
- Go Slow on Curves: When sewing around shirt tails or curved hems, go slow to maintain control and ensure even stitches.
- Sew Double Lines: For added durability, sew two lines of stitching. This reinforces the hem especially on heavier fabrics.
- Press as You Go: Ironing your hem before and after sewing gives a crisp, flat finish. Pressing helps set stitches into place.
- Check the Tension: Make sure your sewing machine’s tension is proper for your fabric type. Incorrect tension can lead to puckering or loose hems.
By employing these tips, your hemmed shirts will not only look professionally done but will also stand the test of time.
Common Hemming Mistakes and How to Avoid Them
Hemming shirts seems simple, but errors can happen. Here are common mistakes and tips to dodge them:
- Not Measuring Correctly: Precision is key. Always measure twice before cutting. This avoids uneven hems.
- Skipping the Ironing Step: Iron the hem before sewing. It sets a clear guide and avoids wavy lines.
- Using Mismatched Thread: Match thread to shirt color. It makes stitches look invisible.
- Neglecting Hem Allowance: Allow extra fabric for the fold. This ensures enough room for a proper hem.
- Forgetting to Test Sew: Practice on scraps first. It helps to tweak tension and avoid mistakes on the actual shirt.
- Rushing Through: Take your time, especially on curves. Patience leads to neatness and symmetry.
By avoiding these frequent missteps and applying these strategies, your hemming shirt work will yield a more durable and professional appearance.
Maintaining the Quality of Hemmed Shirts
After mastering the [hemming shirt] techniques, it’s important to maintain their quality. Proper care keeps hems intact and shirts looking sharp. Here are ways to ensure the durability of your hemmed shirts:
- Wash Carefully: Handle hemmed shirts gently in the wash. Use a mild detergent and the delicate cycle.
- Avoid High Heat: High temperatures can damage hems. Air dry shirts or use a low heat setting on your dryer.
- Iron with Caution: When ironing the hem, use the appropriate heat for the fabric. Avoid pressing directly on the stitches.
- Inspect Regularly: Look for signs of wear. Quick repairs can prevent further damage.
By following these steps, your hemmed shirts will stay in prime condition. You’ll extend the life and look of your shirts with minimal effort. Remember, a little bit of care goes a long way in preserving your garment’s quality after a hemming shirt job.