
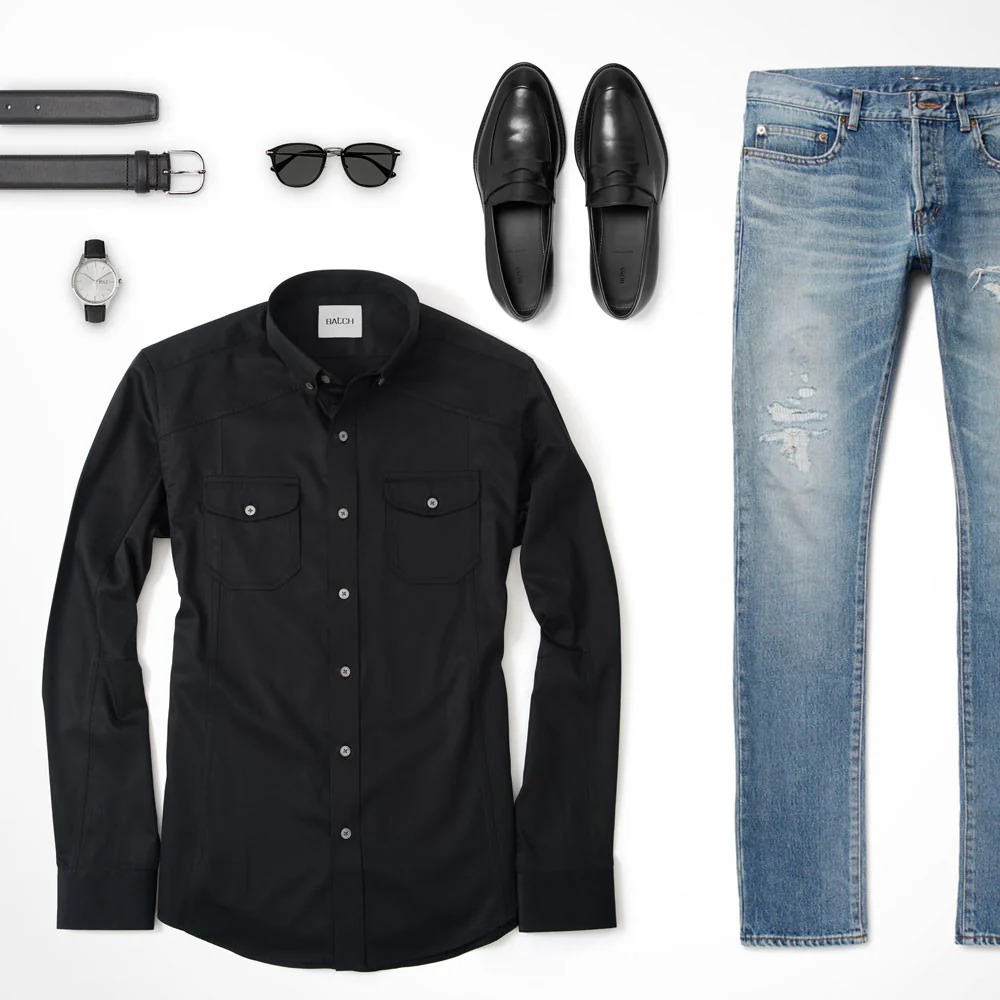
Introduction to Hemming Shirts
Hem on shirt can transform its look and fit. It’s altering the length for a perfect edge. Hemming ensures your shirt falls just right, avoiding awkward lengths. It’s not just for style; it’s practical too. A well-hemmed shirt stays in place and resists wear. This guide presents a simple way to achieve professional hems at home.
Tools and Materials Needed for Hemming
To begin hemming your shirt, gather the right tools and materials. Here’s what you’ll need:
- Fabric scissors: For clean and precise cuts.
- Measuring tape: Essential for accurate measurements.
- Straight pins: To hold the fabric in place before sewing.
- Iron and ironing board: For pressing the folds and creases.
- Sewing machine or needle and thread: Depending on your preference for hand sewing or using a machine.
- Seam ripper: Handy for correcting any mistakes.
- Marking tool: A chalk or fabric marker to indicate where you’ll cut and fold.
- Thread: Match it to the color of your shirt for a seamless look.
Before starting, ensure your workspace is clear. A flat surface is best for laying out your shirt. Check your sewing machine, if using one, to make sure it’s ready. Choose a thread that blends well with the fabric.
Step-by-Step Guide to Measuring for a Hem
A proper hem on a shirt starts with precise measurement. Follow this simple guide to ensure accuracy.
- Wear the Shirt: Begin by putting on the shirt. This helps you see its natural fall and where the hem should sit.
- Decide the Length: Look in the mirror, decide how much length you want to remove. It’s helpful to wear your favorite pants to judge this.
- Mark the Length: While still wearing the shirt, use straight pins or have someone place a mark on the desired length with a marking tool.
- Take the Shirt Off Carefully: Remove the shirt slowly to keep pins or marks in place.
- Lay the Shirt Flat: Use a flat surface to spread out the shirt. Smooth out any wrinkles.
- Measure the Distance: From the existing hem, measure up to the marked line or pins. Use the measuring tape for this, making sure it’s even all around.
- Mark All Around: Transfer the length you decided on all around the shirt using your marking tool. A ruler or a straight edge helps keep it level.
Correct measurement is vital to achieve a sharp, clean hem on a shirt. Mistakes in measuring can lead to uneven hems or the shirt being too short. Take your time with each step for the best results.
Hemming Techniques for Different Types of Shirts
Every shirt type has a unique hemming method. Different materials and styles need special attention. Below, we outline hemming techniques for various shirt types. Keep the keyword ‘hem on shirt’ in mind as you proceed.
Dress Shirts
Dress shirts often have a thicker fabric. They require a durable hem. Use a double-fold hem to give a polished edge. Sew close to the fold to ensure it holds well.
T-Shirts
T-shirt material is usually stretchy and soft. A single-fold hem works well. It keeps the hem light and flexible. Use a zigzag stitch to maintain elasticity.
Polo Shirts
Polo shirts blend casual with formal style. Their hems can be like t-shirts or dress shirts. Choose based on the shirt’s fabric and how formal it is.
Sleeveless Shirts
These need extra care along the armholes. Use a bias tape for a clean finish. Sew it on the inside for a professional look.
Long-sleeved Shirts
Mastering the right hemming technique is key. It ensures a neat look and a comfortable fit. Pick the method that works best for your shirt’s fabric and cut. With a bit of practice, you can achieve a professional hem on any shirt at home.
Sewing Machine vs. Hand Sewing: Pros and Cons
Once you’ve measured and cut your shirt, it’s time to decide how you’ll sew the hem. You can choose between using a sewing machine or hand sewing. Each method has its pros and cons.
Pros of Sewing Machine Hemming
- Speed: A sewing machine works faster than hand stitching.
- Uniformity: Stitches are even and consistent, for a professional look.
- Strength: Machine stitches are generally stronger.
Cons of Sewing Machine Hemming
- Setup Time: Takes time to set up the machine and thread it.
- Cost: Not everyone has a sewing machine, and they can be expensive.
- Complexity: For beginners, machines can be complex and daunting to use.
Pros of Hand Sewing Hemming
- Control: Hand sewing gives you more control over each stitch.
- Portability: You can sew anywhere, without needing electricity or a machine.
- Easier to Start: No need for machine setup; just a needle, thread, and you’re ready.
Cons of Hand Sewing Hemming
- Time-Consuming: It’s much slower than machine sewing.
- Consistency: Stitches might not be as even, unless you’re very skilled.
- Durability: Hand stitches can be less durable than machine stitches.
Your choice depends on your skill level, the time you have, and the hem on shirt you aim for. If you need a quick, durable hem and have access to a machine, go for machine sewing. If you prefer the control and simplicity of hand sewing, and time isn’t an issue, hand hemming might be your best bet. Remember to practice whichever method you choose to improve your technique and hem quality.

Finishing Touches: Ironing and Caring for Your Hemmed Shirt
Once you have hemmed your shirt, the final steps are crucial for longevity. Iron the hem to create a crisp edge. Set your iron to the appropriate heat for the shirt’s fabric. Press along the hemline without dragging the iron. Do this on both sides of the fabric. Ironing not only secures the hem in place but also gives your shirt a polished look.
After ironing, care for your hemmed shirt properly. Wash it on a gentle cycle to prevent the stitches from straining. Avoid using high heat in the dryer. Instead, opt for air-drying when possible. This protects the fabric and keeps the hem intact. If the hem ever comes loose, re-sew promptly to avoid further damage.
Common Mistakes to Avoid When Hemming Shirts
Achieving a perfect hem on shirt is often about avoiding common pitfalls. Here are some mistakes to steer clear of:
- Skipping Measurements: Never eye-ball the length. Always use a measuring tape for precision.
- Poor Cutting Technique: Don’t cut without a guide. Use a ruler or straight edge alongside your fabric marker.
- Inconsistent Sewing: Maintain even stitches for strength and appearance. Uneven stitching can lead to a shoddy hem.
- Ignoring Fabric Type: Remember, different fabrics require different hemming techniques. Don’t treat them all the same.
- Rushing the Process: Take your time on each step. Rushing can result in errors and a hem that doesn’t hold.
- Neglecting Ironing: Pressing the hem is essential. It secures the fold and enhances the shirt’s finish.
- Choosing Wrong Thread Color: Use thread that matches your shirt. A mis-matched thread will stand out.
Avoiding these mistakes will help you achieve a clean, professional hem on shirt at home. Remember, patience and attention to detail are key in hemming.
When to Seek Professional Tailoring Services
While you can hem a shirt at home with practice, there are times when a professional’s help is best. Consider seeking a tailor when:
- Complex Fabrics: Materials like silk or very stretchy fabrics can be hard to work with. A tailor has the tools and skills for these.
- Intricate Designs: If your shirt has pleats or ruffles, a professional ensures the hem complements the style.
- Adjusting Fit: Sometimes, a shirt needs more than hemming. Tailors can adjust the fit throughout for a custom look.
- Time Constraints: If you’re short on time, professionals can do the job quickly. Their experience allows for swift and efficient work.
- Lack of Equipment: Without a sewing machine or the right thread, a tailor will have everything needed.
Remember, investing in professional tailoring services can save you time and ensure a lasting hem on shirt. This choice can make the difference between a basic adjustment and a perfectly-fitted shirt.