How to cut the neck of a shirt? Cutting the neck of a shirt can give it a new and unique look. Whether you want to create a trendy off-the-shoulder style or simply update an old shirt, learning how to cut the neck of a shirt can be a fun and creative project. In this guide, we will provide step-by-step instructions on how to cut the neck of a shirt and achieve the look you desire.
Choosing the Right Shirt
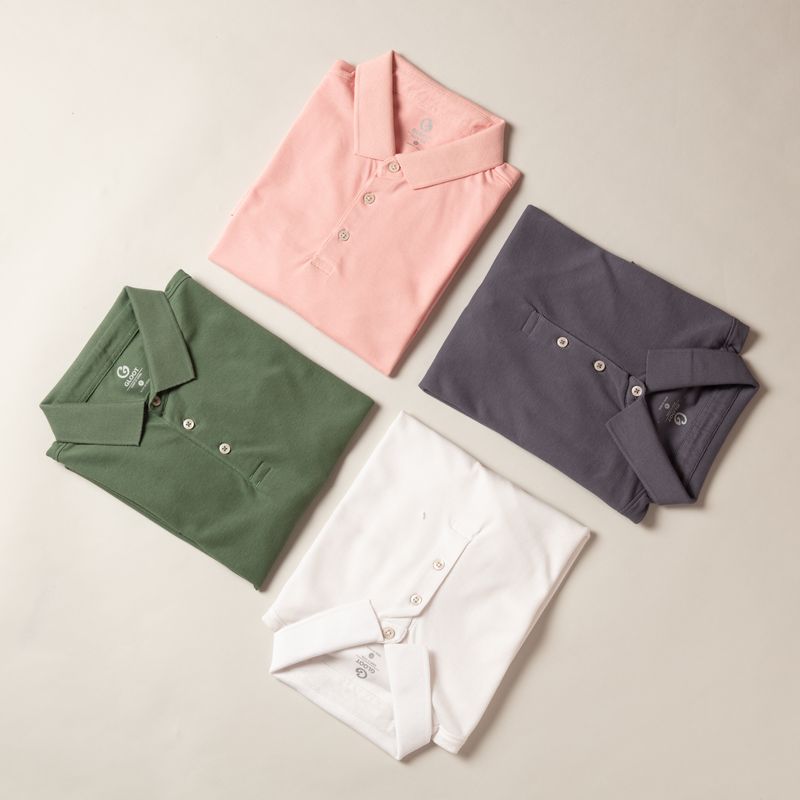
Before you start cutting, it’s important to select the right shirt for your project. Look for a shirt that is made from a stretchy fabric, such as cotton or a cotton blend, as this will make it easier to cut and ensure a clean finish. Additionally, consider the style of the shirt and the look you want to achieve. For example, a crew neck shirt is a great option for creating an off-the-shoulder style, while a v-neck shirt might be better suited for a subtle cut.
Gathering Supplies
To cut the neck of a shirt, you will need a few basic supplies, including:
- Sharp scissors
- Chalk or fabric marker
- Ruler
- Iron (optional)
It’s important to use sharp scissors to ensure a clean and precise cut. Additionally, using chalk or a fabric marker will help you mark the area where you want to cut, while a ruler can be used to measure and mark the cutting line. Finally, an iron can be helpful for pressing the edges after cutting.
Mark the Cutting Line
Start by placing the shirt on a flat surface and smoothing out any wrinkles. Use chalk or a fabric marker to mark the cutting line on the neck of the shirt. For an off-the-shoulder style, mark a line slightly below the collarbone. If you want a deeper cut, you can mark a lower line. Use a ruler to ensure the line is straight and evenly spaced around the neck.
Cut Along the Marked Line
Once you have marked the cutting line, carefully cut along the line using sharp scissors. Take your time and make small, precise cuts to ensure a clean edge. If you are cutting a crew neck, you may also want to cut off the collar for a more finished look.
Finish the Edges (optional)
After cutting the neck of the shirt, you may want to finish the edges to prevent fraying. If the fabric is prone to fraying, you can use an overlock or zigzag stitch on a sewing machine, or an overcasting stitch by hand to secure the edges. Alternatively, you can carefully fold over the edge and iron it in place to create a clean finish.
Try It On
Once you have finished cutting and securing the edges, try the shirt on to see how the new neckline looks. Make any additional adjustments to the cut as needed to achieve the desired look.
Personalize It (optional)
After cutting the neck of the shirt, you can further personalize it by adding embellishments or decorations. For example, you can sew on lace trim, add studs or beads, or create a braided detail around the neckline for a unique and customized look.
What are the good-looking styles of neck of a shirt?
The neckline of a shirt is an important feature that can greatly influence the overall look and feel of the garment. There are many different neck styles for shirts, each with its own unique characteristics and appeal.
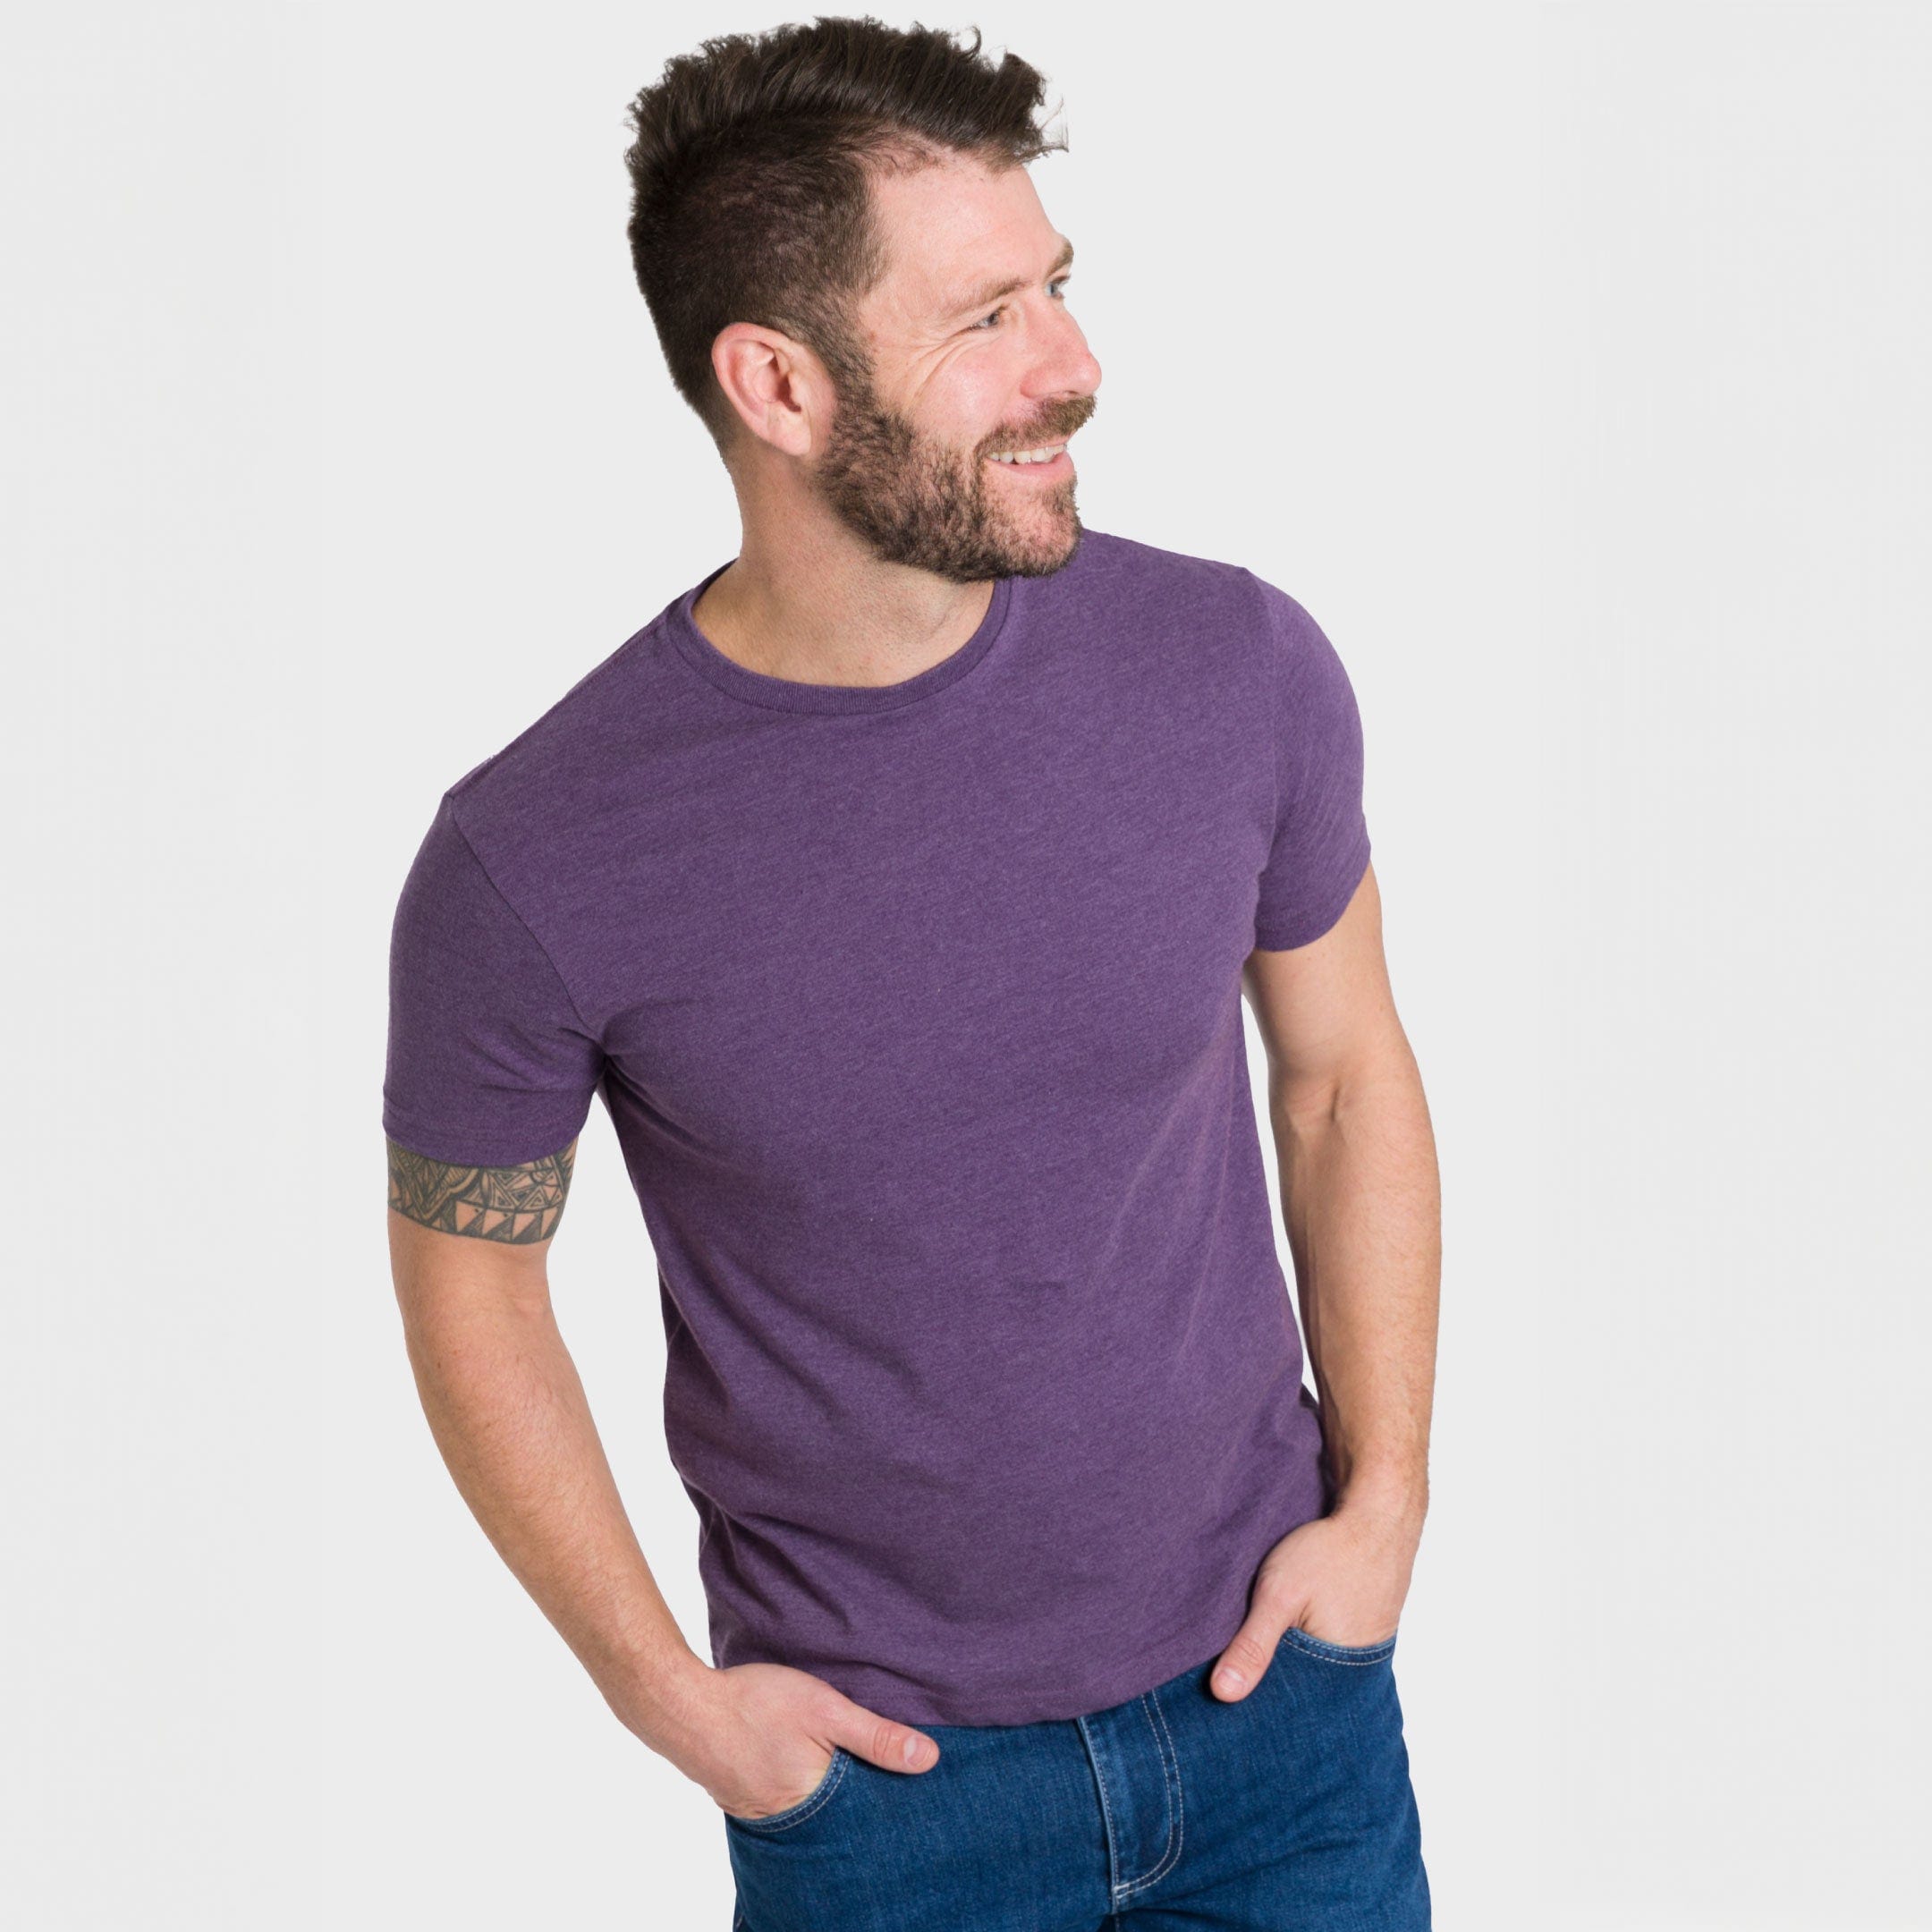
Crew Neck
The crew neck is one of the most classic and versatile neck styles for shirts. It is characterized by a round, close-fitting neckline that sits at the base of the neck. Crew neck shirts are known for their timeless appeal and can be found in a variety of fabrics and colors. This neck style is a great option for both casual and formal wear, making it a wardrobe staple for many.
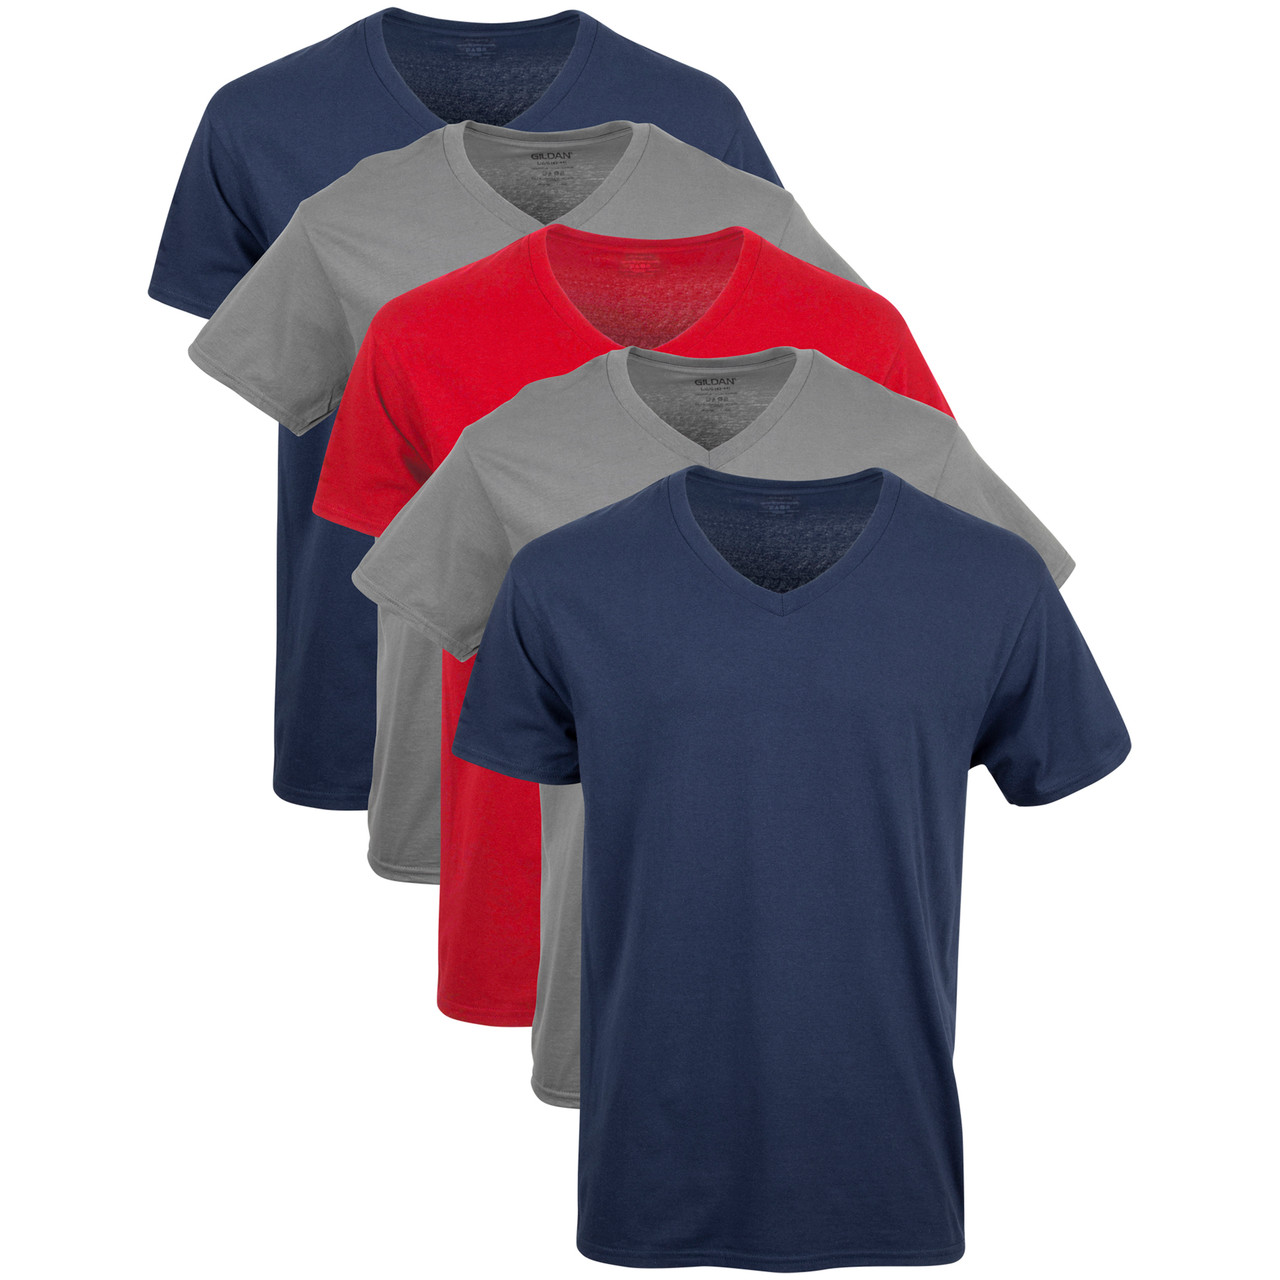
V-Neck
The V-neck is another popular and flattering neck style for shirts. It features a V-shaped neckline that elongates the neck and creates a slimming effect. V-neck shirts are often considered more stylish and modern compared to crew necks, and can be dressed up or down depending on the occasion. They are particularly flattering for those with a shorter or rounder neck, as they create the illusion of a longer and slimmer neckline.
Scoop Neck
The scoop neck is a feminine and elegant neck style that is characterized by a wide, rounded neckline that sits lower on the chest. This neck style is often seen on women’s tops and dresses, but can also be found on men’s shirts for a more relaxed and casual look. The scoop neck is great for showcasing the collarbone and can be a flattering choice for those with a smaller bust.
Boat Neck
The boat neck, also known as a bateau neck, is a wide and slightly curved neckline that sits at the collarbone. This neck style is often associated with nautical and preppy fashion, and can add a touch of elegance to any shirt. Boat neck shirts are great for off-the-shoulder or asymmetrical styles, and can be a stylish choice for both casual and formal occasions.
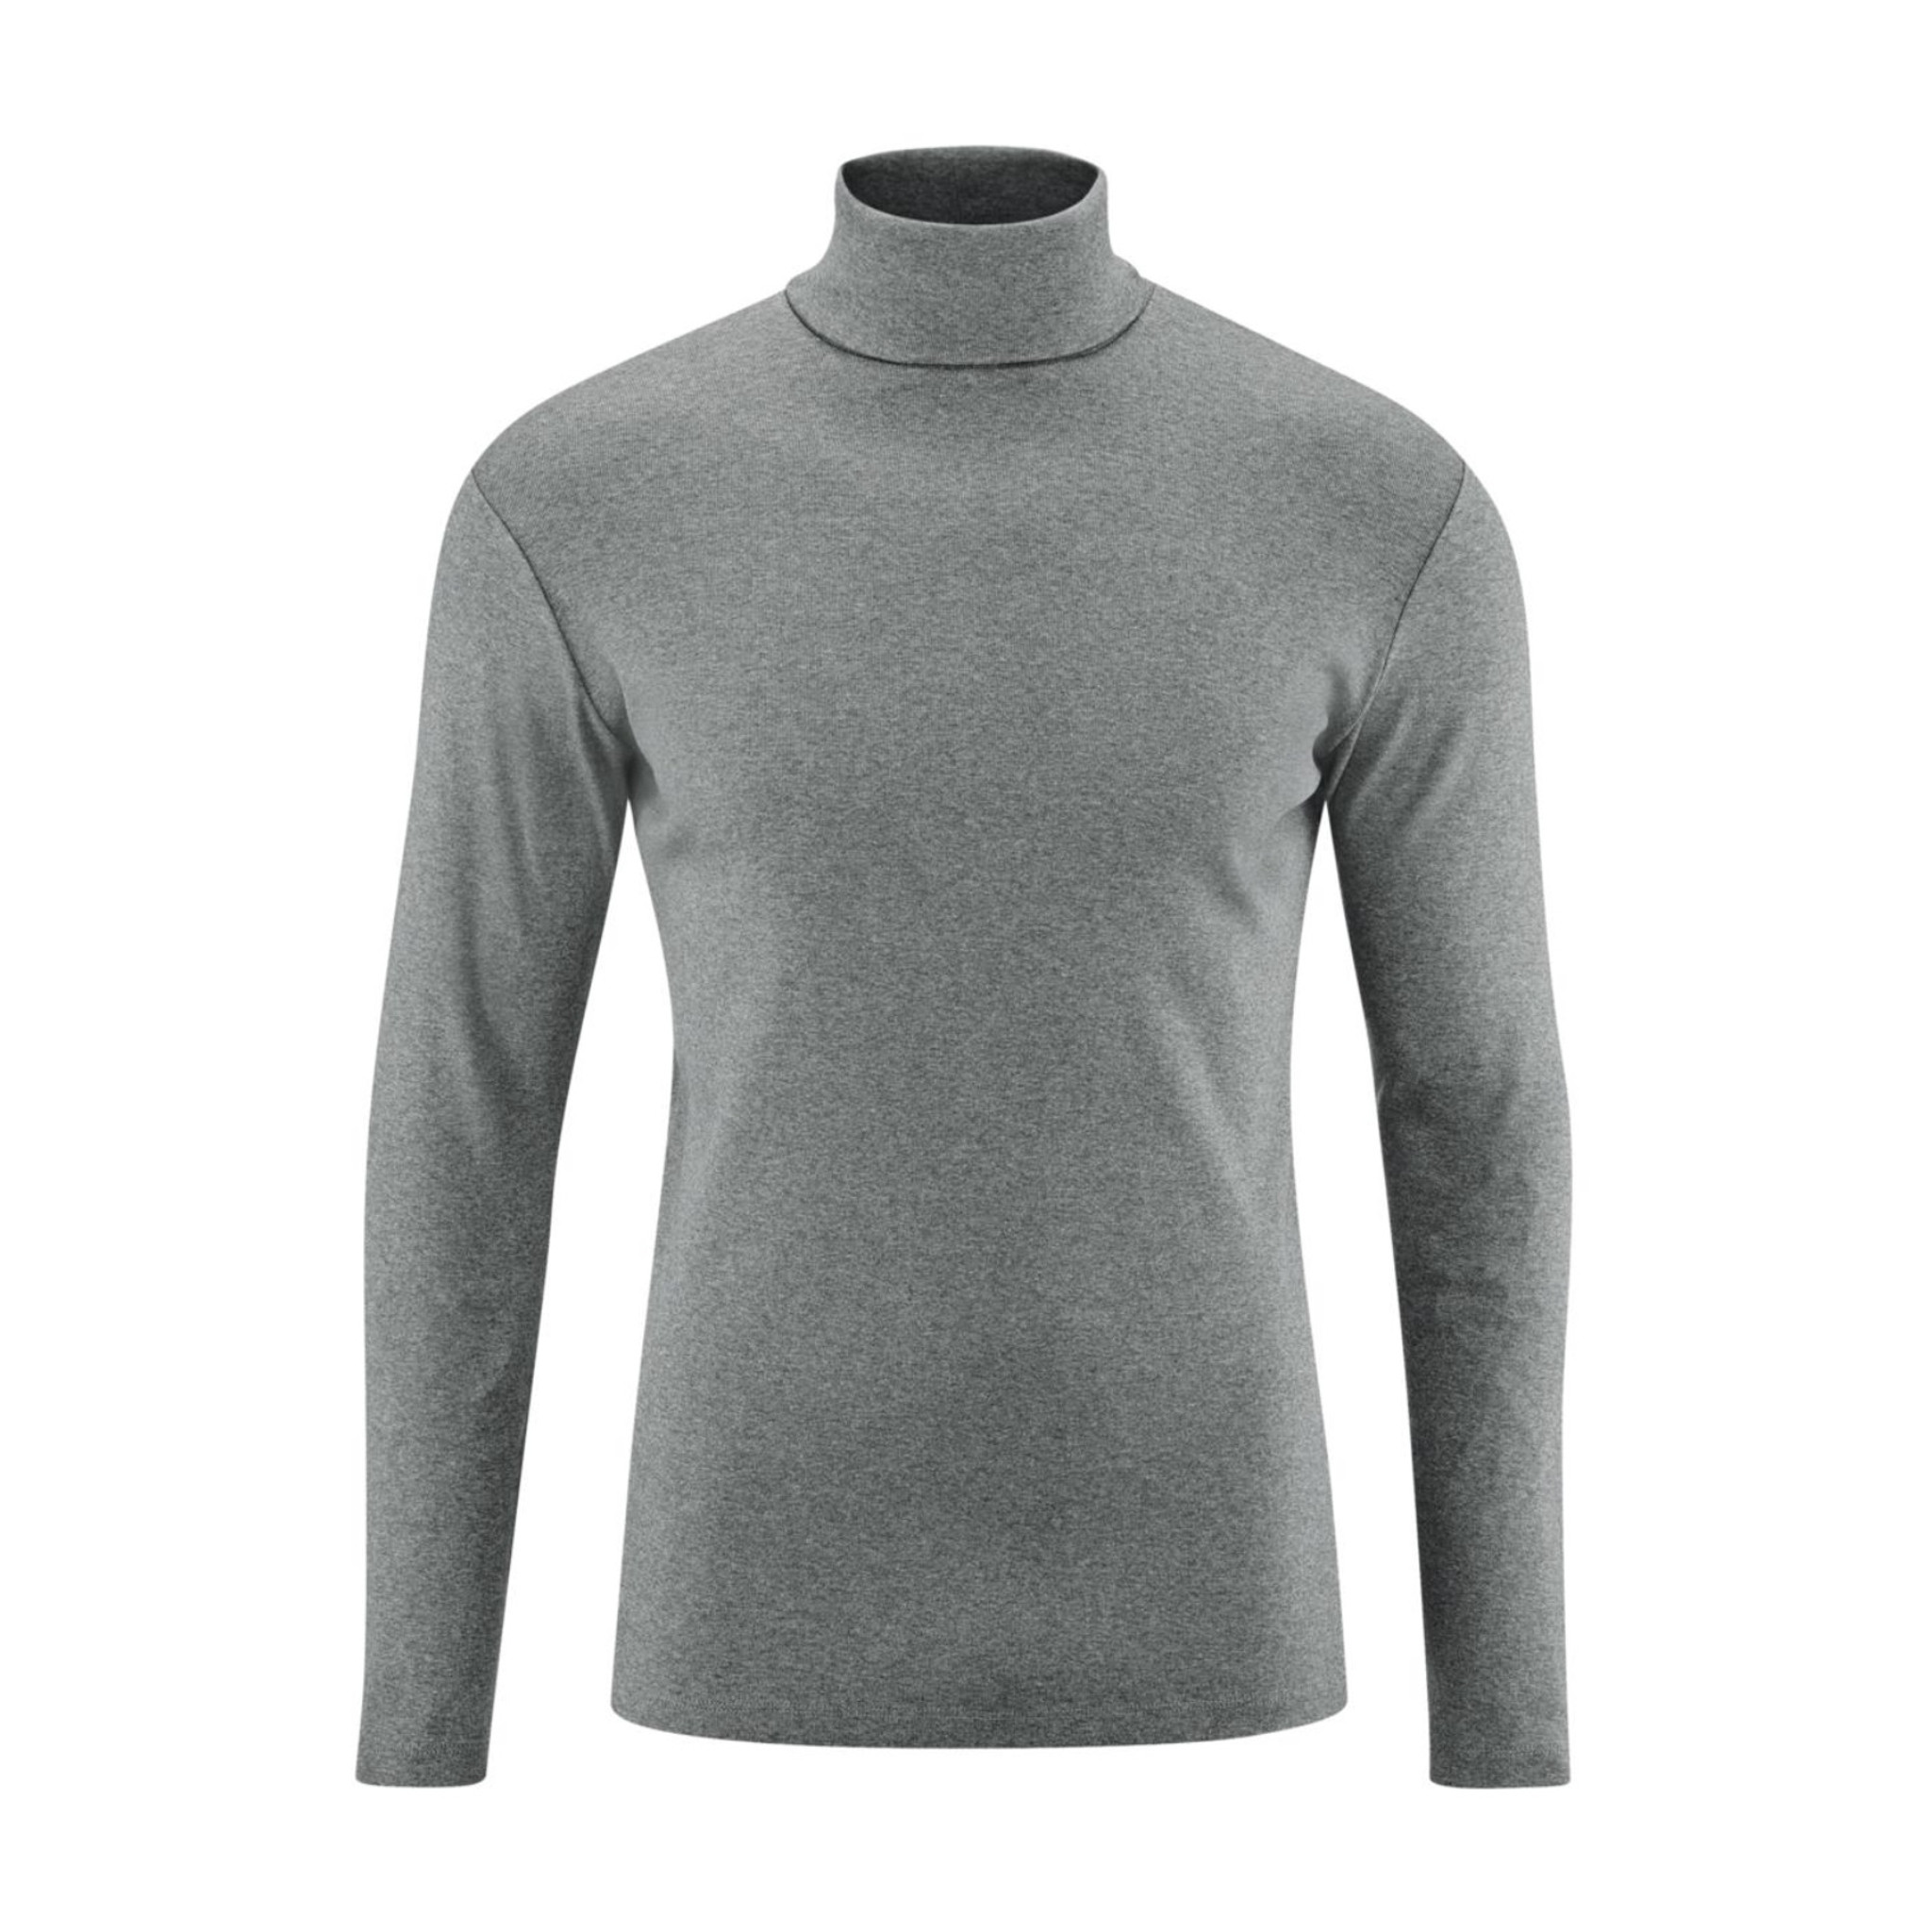
Mock Neck
The mock neck is a high, close-fitting neckline that resembles a turtleneck but without the added bulk. This neck style is often seen on sweaters and knit tops, and can add a touch of sophistication to any shirt. Mock neck shirts are great for layering and can be a stylish choice for colder weather. They also offer a modern and sleek look that is perfect for both casual and professional settings.
How to iron the neck of a shirt
Choosing the Right Iron
Before we delve into the ironing process, it is important to ensure that you have the right equipment. A good quality iron with steam function is essential for achieving the best results. Additionally, having a sturdy ironing board and a clean, heat-resistant surface to work on will make the task much easier.
Preparing the Shirt
Start by preparing the shirt for ironing. Ensure that the shirt is clean and damp. If the shirt is dry, lightly spray it with water to moisten the fabric. This will facilitate the removal of wrinkles and make the ironing process more effective.
Ironing the Collar
Begin by ironing the collar of the shirt. Lay the shirt flat on the ironing board with the collar facing up. Gently smooth out any wrinkles with your hands before applying the iron. Start ironing from the center of the collar and work your way outwards towards the edges. Use the steam function of the iron to help loosen any stubborn creases. Be sure to iron both sides of the collar to ensure an even finish. Pay close attention to the corners and points of the collar to achieve a crisp and neat appearance.
Ironing the Neckband
Next, focus on ironing the neckband of the shirt. Flip the shirt over so that the back of the collar is facing up. Again, smooth out any wrinkles with your hands before using the iron. Begin ironing from the center of the neckband and work towards the edges. Pay special attention to any buttons or fastenings on the neckband, making sure to iron around them to create a smooth and polished finish.
Conclusion
Cutting the neck of a shirt is a simple and creative way to update your wardrobe. By following the steps outlined in this guide, you can achieve a variety of looks, from an off-the-shoulder style to a subtle v-neck. Whether you are a beginner or an experienced DIY enthusiast, cutting the neck of a shirt is a fun and rewarding project that allows you to express your personal style and creativity. So grab an old shirt and a pair of scissors, and get ready to transform it into something new and exciting!