
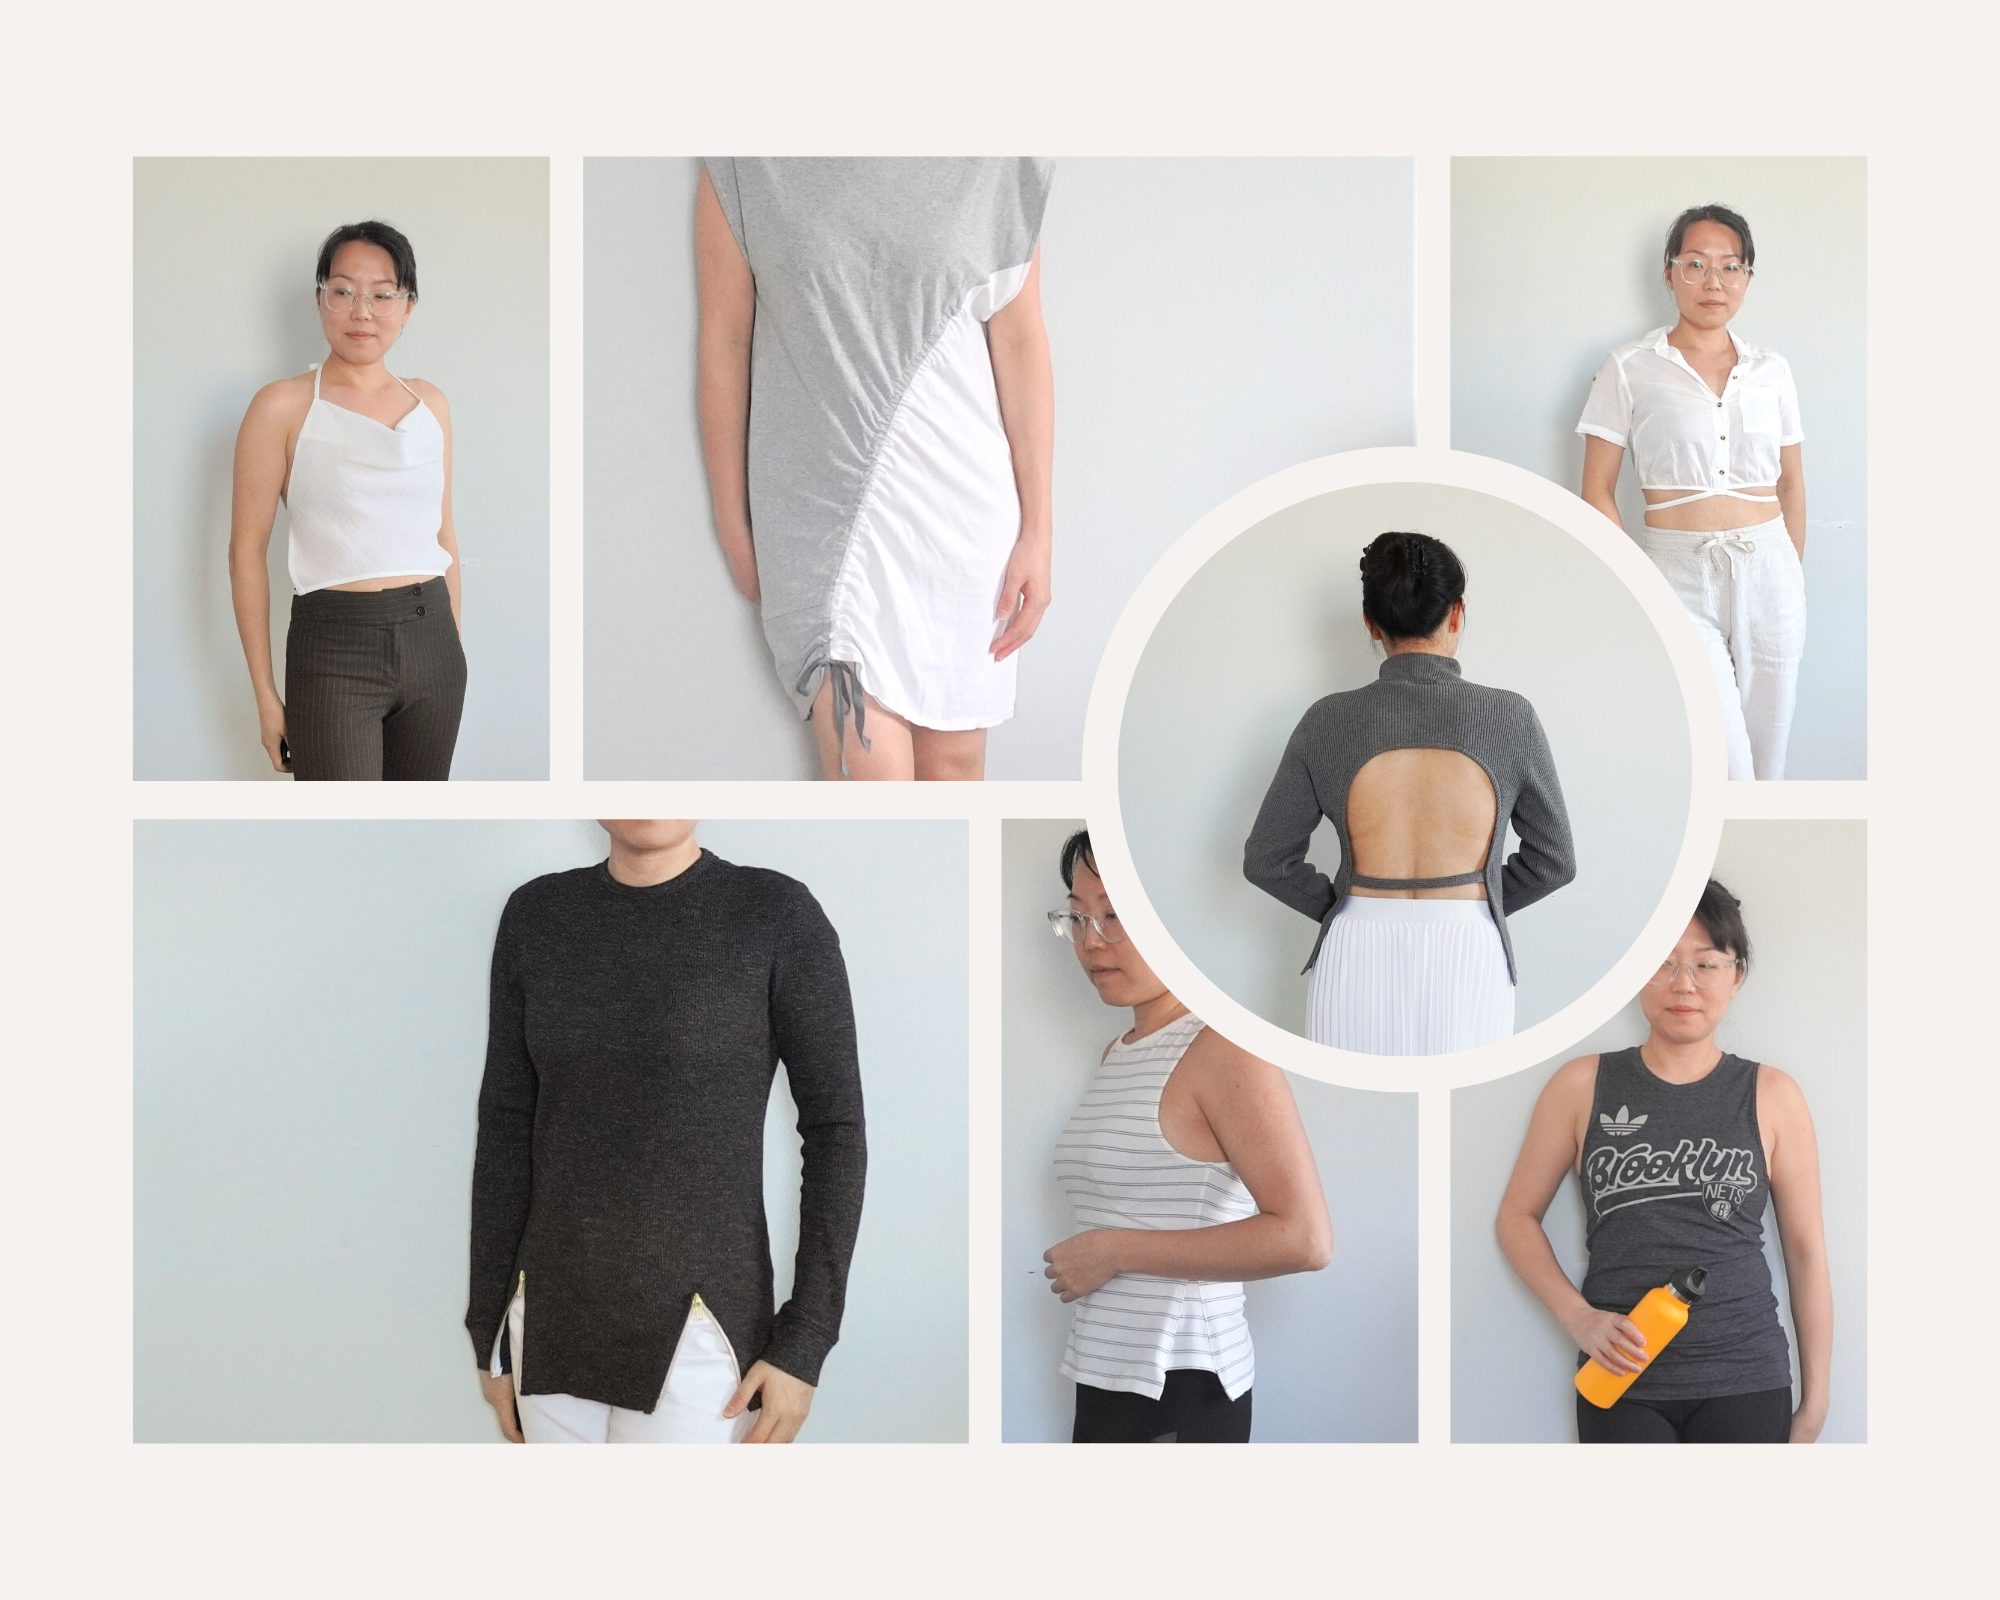
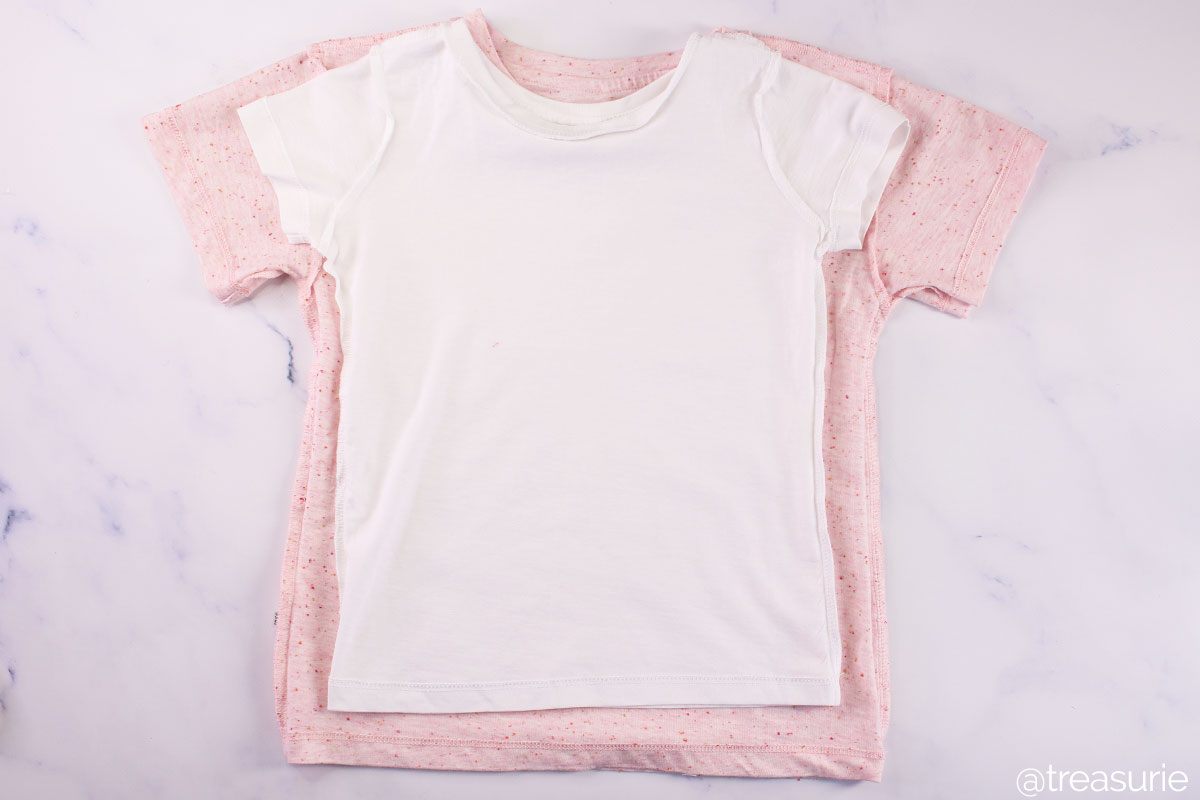
How to make a shirt smaller? Finding the perfect fit for a shirt can sometimes be challenging. It’s not uncommon to have a shirt that is too loose or oversized. However, with a few simple alterations, it’s possible to make a shirt smaller and achieve a more flattering fit. In this article, we will provide a step-by-step guide on how to make a shirt smaller, including techniques such as sewing, folding, tucking, and using accessories. By following these methods, you can customize the fit of your shirts and transform them into perfectly tailored garments. Let’s dive into the world of shirt alterations and learn how to make your shirts smaller.

Sewing Alterations
-
Pinning Technique:
- Put the oversized shirt on inside out.
- Pin along the side seams, starting at the armpit and tapering down to the desired fit.
- Repeat the pinning process on both sides of the flannel shirt, ensuring symmetrical adjustments.
- Take off the shirt and double-check the fit in the mirror.
- Sew along the pinned lines, either by hand or using a sewing machine, following a straight stitch or a stretch stitch for knit fabrics.
- Cut off any excess fabric, leaving a small seam allowance.
- Turn the shirt right side out and try it on to ensure the desired fit has been achieved.
- If necessary, make additional adjustments and sew again.
-
Taking In the Seams:
- Put on the oversized shirt inside out.
- Determine how much smaller you want the shirt to be and mark the areas where the shirt needs to be taken in, such as the side seams, back seams, or shoulder seams.
- Use a seam ripper to carefully open up the seams in the marked areas.
- Sew new seams along the marked lines, tapering them gradually to achieve a more fitted shape.
- Trim any excess fabric and finish the raw edges with a serger or zigzag stitch.
Non-Sewing Alterations
-
Folding and Tucking Techniques:
- Put on the oversized shirt and identify the areas that need adjustment, such as the back, sides, or front.
- Fold the excess fabric along the side seams inward towards the body and secure it discreetly using small safety pins or fashion tape.
- Tuck the excess fabric at the back into the waistband of pants or skirts to create a more fitted appearance.
- For a temporary solution, use adjustable shirt clips or elastic bands to gather and secure fabric at the sides or back.
-
Belt or Sash:
- Put on the oversized shirt and cinch it at the waist using a belt or a sash. This creates a more defined silhouette and can make the shirt appear smaller.
- Experiment with different belt widths and styles to see which best complements the shirt and your body shape.
- Position the belt at the narrowest part of your waist for the most flattering effect.
-
Layering:
- Layer the oversized shirt with a more fitted outer layer, such as a cardigan, vest, or jacket. This can help conceal the excess fabric and create a more proportionate look.
- Opt for body-hugging, structured layers to balance out the loose fit of the oversized shirt.
-
Knotting:
- Take the bottom hem of the flannel shirt and tie it in a small knot at the side or front.
- Adjust the tightness of the knot to achieve the desired fit.
- This technique is particularly effective for creating a cropped or cinched waist look.
How to clean shirt smaller
Keeping shirts clean and well-maintained is essential for their longevity and maintaining their size and fit. However, it’s crucial to follow proper cleaning techniques to prevent shrinking or stretching of the fabric.
Checking the Care Label:
Before cleaning a shirt, always check the care label for specific instructions from the manufacturer. The care label will provide guidance on the recommended cleaning methods, water temperature, and any special care requirements.
Laundering Shirts:
To clean shirts while maintaining their size, follow these general laundering guidelines:
- Sorting: Separate shirts by color and fabric type before laundering to prevent color bleeding or fabric damage. This ensures that each shirt receives appropriate care.
- Washing Machine Settings: Use a washing machine with a gentle or delicate cycle setting to minimize agitation, which can cause shrinkage or stretching. Set the water temperature according to the care label instructions.
- Detergent Selection: Select a mild or gentle detergent suitable for the fabric of the shirts. Avoid using harsh detergents or bleach, as they can weaken the fabric fibers and affect the size and fit.
- Inside Out: Turn shirts inside out before placing them in the washing machine. This helps protect the outer surface and any print or embellishments from damage or fading.
- Avoid Overloading: Avoid overloading the washing machine to allow enough space for shirts to move freely during the wash cycle. This prevents excessive agitation and potential distortion.
Stain Removal:
When dealing with stains on shirts, follow these guidelines:
- Immediate Treatment: Address stains as soon as possible to prevent them from setting into the fabric. Blot or gently scrape off any excess substance before attempting stain removal.
- Spot Testing: Before applying stain removers or cleaning agents to the entire stain, perform a spot test on a small, inconspicuous area of the fabric to ensure compatibility with the fabric and colorfastness.
- Pre-Treating: Apply a small amount of stain remover or a mixture of detergent and water directly to the stain. Gently rub or blot the stain using a clean cloth or soft-bristled brush. Rinse thoroughly before laundering.
Drying Methods:
Proper drying techniques are crucial for maintaining the size and shape of henley shirt:
- Air Drying: For shirts, air drying is the preferred method to prevent shrinkage or stretching. Hang shirts on a clothesline or drying rack in a well-ventilated area away from direct sunlight or heat sources.
- Drying Rack: If using a drying rack, reshape the shirts by gently pulling and smoothing them into their original size and shape.
Avoid Machine Drying:
Avoid using a dryer whenever possible, as the heat and tumbling motion can cause shirts to shrink or lose their original size and fit.
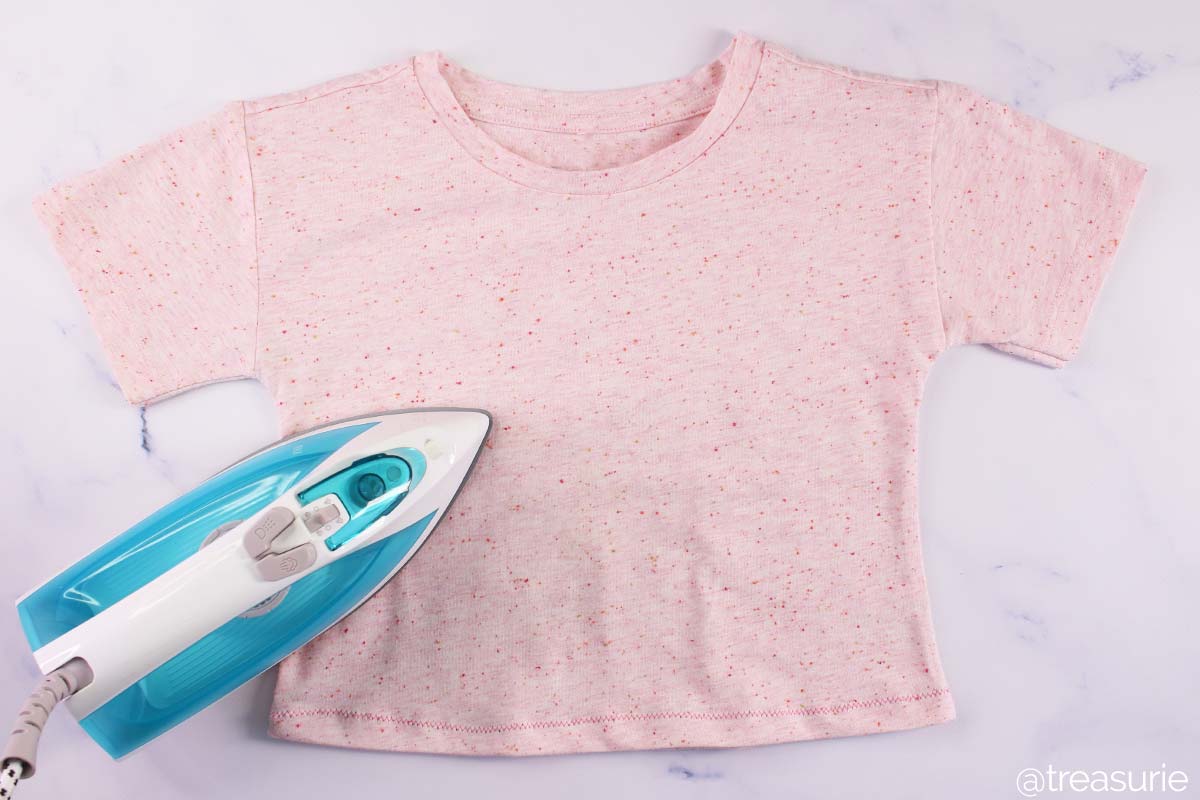
Ironing:
To minimize wrinkles and maintain the size of shirts, follow these ironing guidelines:
- Heat Settings: Set the iron to the appropriate heat setting based on the fabric of the shirt. Use lower heat for delicate fabrics and higher heat for sturdier fabrics.
- Steam Function: Utilize the steam function of the iron to relax wrinkles and make ironing more efficient. Ensure the shirts are slightly damp, but not wet, before ironing.
- Ironing Techniques: Iron shirts in gentle, straight strokes, moving from collar to cuffs and from top to bottom. Pay extra attention to collars, cuffs, and plackets.
Conclusion:
With a few alterations and creative styling techniques, it’s possible to make an oversized shirt smaller and achieve a more flattering fit. Whether through sewing alterations, folding and tucking, or accessorizing with belts and layers, you can customize the fit of your shirts to suit your body shape and style preferences. Remember to take your time, make precise adjustments, and try on the shirt frequently during the alteration process to ensure the desired fit is achieved. By following these methods, you can transform oversized shirts into well-fitted garments that enhance your appearance and boost your confidence.