Identifying the Right Hem Length for Your Body Type
Where is the hem of a shirt? Finding the right hem length for your shirt is key to looking sharp and put-together. This guide will help you select the perfect shirt hem placement for your body type. Here’s what you need to know.
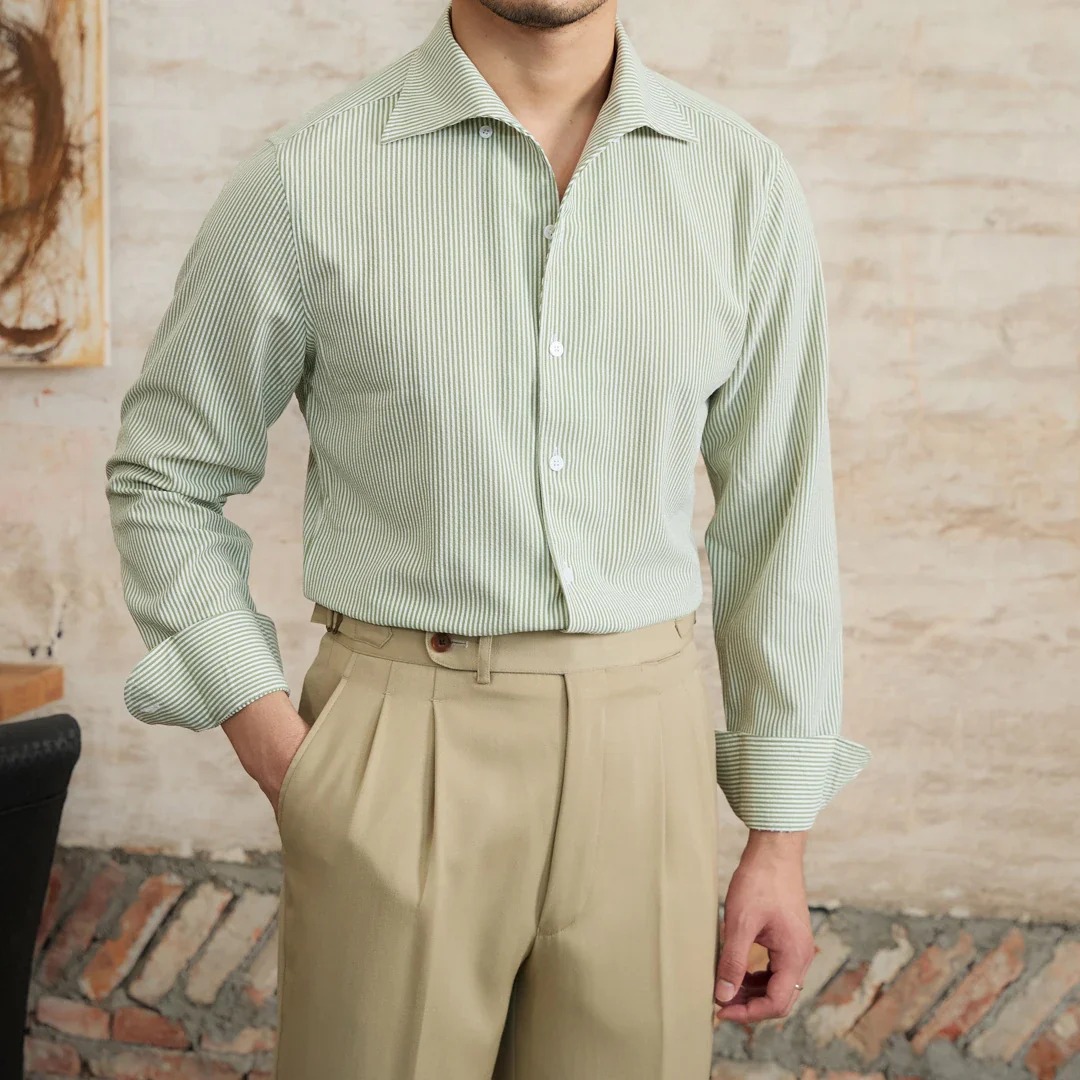
- For Tall Individuals: If you’re tall, longer hems can help balance your proportions. Your shirt should cover the bottom of your belt line, but not extend beyond the midway point of your pants’ fly area.
- For Petite Figures: Those with a petite frame should avoid long shirt hems that overwhelm their stature. Aim for a hem that hits at the middle of the hip to elongate your silhouette.
- For Plus-Sized Shapes: A hem that falls just below the hip can be flattering. It offers coverage while helping to create a structured look. Avoid shirts that are too short as they can draw unwanted attention to your midsection.
Remember, individual comfort is crucial. A hem placement should not only flatter your body type but also allow for ease of movement. When determining ‘where is the hem of a shirt‘ best suited for you, consider these guidelines as a starting point.
Different Shirt Hem Styles and Their Benefits
Once you understand where is the hem of a shirt most suitable for your body type, let’s explore the different styles. Each style brings specific benefits that complement various outfits and occasions.
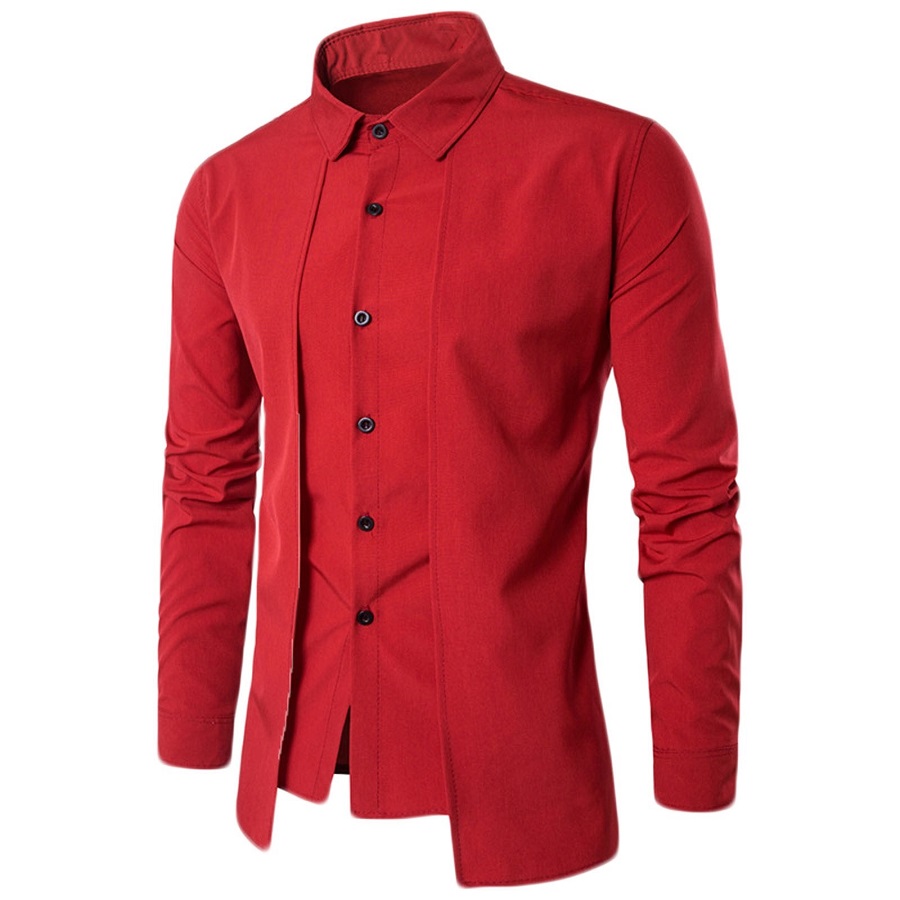
- Straight Hem: This is the most common style. It provides a clean, classic look that works for most casual and semi-formal settings.
- Curved Hem: Offers a more tailored appearance. It’s ideal for wearing untucked as it adds shape and is forgiving on different body types.
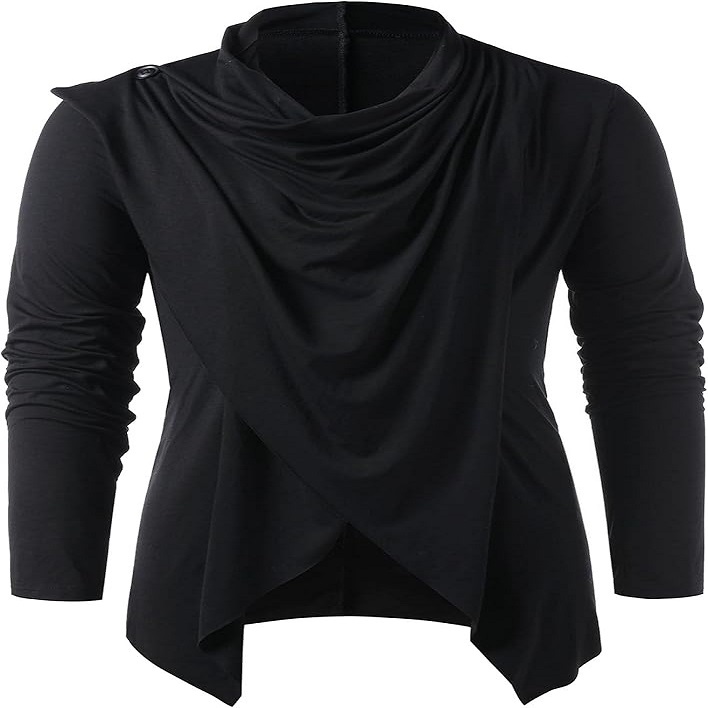
- Stepped Hem: Has a lower back hem and can be very stylish. It’s great for layering and adds a modern edge to your look.
Choosing the right hem style not only impacts how others perceive you but also how you feel about your look. The right shirt hem placement and style can boost confidence and ensure comfort throughout your day.
Measuring for the Perfect Hem Placement
Getting the hem placement right is crucial for a well-fitted shirt. Measuring is the first step. Below are the steps to ensure you measure accurately:
- Start at the Hip Bone: For an untucked shirt, the hem should ideally fall midway down the zipper or crotch area. Place your measuring tape at your hip bone and note the length you prefer.
- Consider the Shirt Style: Depending on the shirt’s design, such as a curved or stepped hem, the length may vary. Adjust accordingly.
- Account for Movement: Raise your arms and sit down to check if the shirt pulls up too high or stays put.
- Use a Reference Shirt: Find a shirt with a hem length you like. Use it as a benchmark for measuring other shirts.
These steps help guide ‘where is the hem of a shirt’ for best fit and look. Always measure more than once for accuracy.
Tailoring Tips: How to Adjust a Shirt Hem
When adjusting the hem of a shirt, precision and careful technique are your allies. Here are some tips to help tailor your shirt’s hem to perfection:
- Measure Accurately: Before cutting, use a measuring tape to find the right length. Mark the fabric with chalk or a fabric pen.
- Iron the Hem: Ironing helps to create a crisp, clean fold line. This line is your guide when sewing.
- Choose the Right Thread: Pick a thread that matches your shirt’s color for seamless alterations.
- Sew Evenly: Whether using a sewing machine or hand-stitching, ensure your stitches are even.
- Double-Check Fit: After adjustments, try on the shirt. Make sure it fits well and looks right.
- Snip Carefully: If you’re removing excess fabric, do it with sharp scissors and cut cleanly.
By following these tailoring tips for ‘where is the hem of a shirt,’ you can ensure a well-fitted hem that complements your style and body type.
Common Hemming Mistakes and How to Avoid Them
Avoiding common hemming mistakes is crucial in nailing the perfect shirt hem placement. Here’s what to look out for:
- Cutting Before Measuring: Never cut the fabric before you’ve measured twice. Measure, then measure again.
- Ignoring Fabric Type: Different fabrics need different hemming techniques. Research your shirt’s fabric before starting.
- Uneven Hems: Ensure the hem is level all the way around. Use a ruler or hem gauge.
- Poor Stitch Choice: Pick a stitch that suits the fabric. A wrong stitch can cause puckering.
- Not Allowing for Shrinkage: Wash and dry the shirt before hemming to pre-shrink it. This prevents future mishaps.
- Skimping on Ironing: Iron the hem before sewing for a clean edge. It makes sewing easier.
By knowing these common pitfalls and how to steer clear of them, you can ensure where is the hem of a shirt is always on point.
The Impact of Shirt Hem Length on Overall Style
The hem length of a shirt greatly influences your overall style. It can transform an ordinary shirt into a statement piece or a classic staple. Here’s how the length at ‘where is the hem of a shirt’ affects your look:
- Balances Proportions: The right hem length aligns with your body shape. It balances your proportions, no matter your height or build.
- Defines Occasion: For formal events, a shirt with a proper hem lends a polished look. Casual settings may allow for more flexibility in hem styles.
- Enhances Comfort: A hem that sits at the correct length ensures comfort. You won’t have to keep adjusting your shirt throughout the day.
- Adjusts Perceived Height: A hem that is too long can make you appear shorter. The right length can add the illusion of height.
Choosing the right shirt hem placement is more than a detail. It’s a key element in crafting a stylish, cohesive look that boosts confidence and comfort.

Choosing the Right Tools and Techniques for Hemming
Choosing the right tools can make hemming a shirt much easier and more accurate. Here are essential tools and techniques to ensure a perfect hem:
- Fabric Scissors: Use sharp scissors specifically for fabric. They ensure clean cuts for hems.
- Measuring Tape: A soft tape measure is vital for taking precise body measurements.
- Sewing Machine: For a durable hem, a sewing machine works best, though hand-sewing is an option.
- Iron and Ironing Board: Pressing the hem before sewing provides a neat, flat edge.
The following steps can help you achieve a professional finish:
- Even Folding: Measure and fold the hem evenly, and use an iron to press the fold.
- Straight Stitching: Use a straight stitch setting on your sewing machine for most hems.
- Double Fold: For a cleaner finish, fold the raw edge under before folding up the hem.
- Testing: Always test your stitch on a piece of scrap fabric before starting on the shirt.
By using these tools and techniques, you will have a more controlled and accurate hemming process, reducing the chance of errors and ensuring a quality finish.
When to Consult a Professional Tailor for Hem Adjustments
While you can adjust a shirt hem at home, certain situations call for professional tailoring. Here’s when to seek expert help:
- Complex Fabrics: If your shirt is made from delicate or hard-to-handle fabrics, a tailor can ensure the hem doesn’t get damaged.
- Precision Needed: Tailors have the skills for precise measurements and cuts. This is vital for a polished look.
- Special Hem Styles: For styles like scalloped or asymmetrical hems, a professional’s touch can make a big difference.
- Time Constraints: If you’re short on time, a tailor can adjust the hem quickly and efficiently.
Whenever you’re in doubt, remember that professional tailoring is a smart investment. It ensures that ‘where is the hem of a shirt’ is no longer a concern, giving you a fit that’s just right.