Essential Tools and Materials for Crocheting Shirts
How to crochet shirt? Before diving into how to crochet shirts, it’s important to have the right tools and materials. They can make a huge difference in both the experience and the final product.
Choosing the Right Yarn
The yarn you choose is crucial for your crocheted shirt. For comfort and drape, natural fibers like cotton or bamboo are great. Acrylic yarns work well for more vibrant colors and easier care. Think about the shirt’s purpose. Lighter yarns are perfect for summer wear, while heavier yarns suit cooler temperatures. Always check the yarn’s weight and recommended hook size on the label, and make sure it aligns with your pattern requirements.
Selecting Crochet Hooks and Other Accessories
Your crochet hook size affects your tension and stitch size. If you’re new to crocheting shirts, start with the hook size suggested in your pattern, and adjust if needed to achieve the correct gauge. Additionally, you’ll need a few more items: scissors for cutting yarn, a tapestry needle for weaving ends, and stitch markers to keep your place. These tools help you stay organised and make the crocheting process smoother. Remember, the right tools will help bring your crocheted shirt to life just as you’ve imagined.
Understanding Crochet Patterns for Shirts
Mastering the art of reading crochet patterns is key to successful shirt making. Patterns serve as blueprints that guide your work from start to finish. They tell you which stitches to use, how many, and in what order. Learning this ‘language’ of symbols and abbreviations ensures your shirt comes together correctly.
Reading Crochet Pattern Symbols and Abbreviations
As you start to crochet shirts, you’ll meet various symbols and abbreviations in patterns. These can seem confusing at first, but they are just shorthand for common stitch instructions. For example, ‘ch’ stands for chain, ‘sc’ for single crochet, and ‘dc’ for double crochet. Each pattern typically includes a legend to help you decode these terms. Spend time familiarizing yourself with these abbreviations. It will make the process smoother.
Adapting Patterns to Fit Your Style
Once you know how to read patterns, you can start to customize. You might want to change the yarn type or color, adjust the size, or add unique textures. Understanding the construction of the shirt lets you modify with confidence. To do this, keep your measurements in mind. Adjust stitch counts as needed for a perfect fit.
Basic Crochet Stitches to Master
To create stunning crocheted shirts, mastering a set of fundamental stitches is essential. These stitches provide the backbone for any crochet project and are the building blocks for more advanced techniques.
Starting with Foundation Stitches
Foundation stitches lay the groundwork for your crocheted shirt. They’re the first row of stitches upon which your item takes shape. Typically, foundation chains and single crochet stitches start your project. To perfect these, practice making chains smoothly and with consistent tension. Then, learn to insert the hook into these chains to work your first row of single crochets. Make sure each stitch is even to ensure a neat edge that will be easy to build upon.
Techniques for Shaping and Texturing
Shaping your shirt correctly is essential for a good fit. To shape your garment, you’ll need to master increases and decreases. These techniques allow you to create curves and angles, shaping the fabric to your body contours. Employ techniques like ‘2 sc in the next st’ for increasing or ‘sc2tog’ for decreasing.
Crocheting a Shirt: Step-by-Step Process
To undertake the journey of how to crochet a shirt, a step-by-step approach is vital.
Beginning Your Crochet Shirt Project
Start by choosing a pattern that fits your skill level and style preference. Gather all necessary materials, carefully noting yarn weight and hook size. Create a swatch to check gauge. If it matches the pattern’s recommendation, start crocheting the foundation chain.
Tips for Maintaining Consistent Tension
Consistent tension is key for an even, professional-looking fabric. Hold the yarn and hook comfortably. Avoid pulling the yarn too tight or leaving it too loose. Regularly check tension throughout your project and adjust as needed. Practice makes perfect.
Joining Pieces and Creating Seams
After crocheting the shirt’s parts, it’s time to join them. Place pieces together, right sides facing. Use a tapestry needle or crochet hook for seaming. Choose a method that best suits the style, such as slip stitching or single crocheting the seams together. Ensure all seams are strong and neat.
Designing Your Own Crochet Shirt Patterns
Once you have mastered the basics of how to crochet shirts, designing your own patterns can be a rewarding next step. It allows for complete creative control and the ability to craft a shirt that is totally unique to you.
Creative Use of Color and Yarn Types
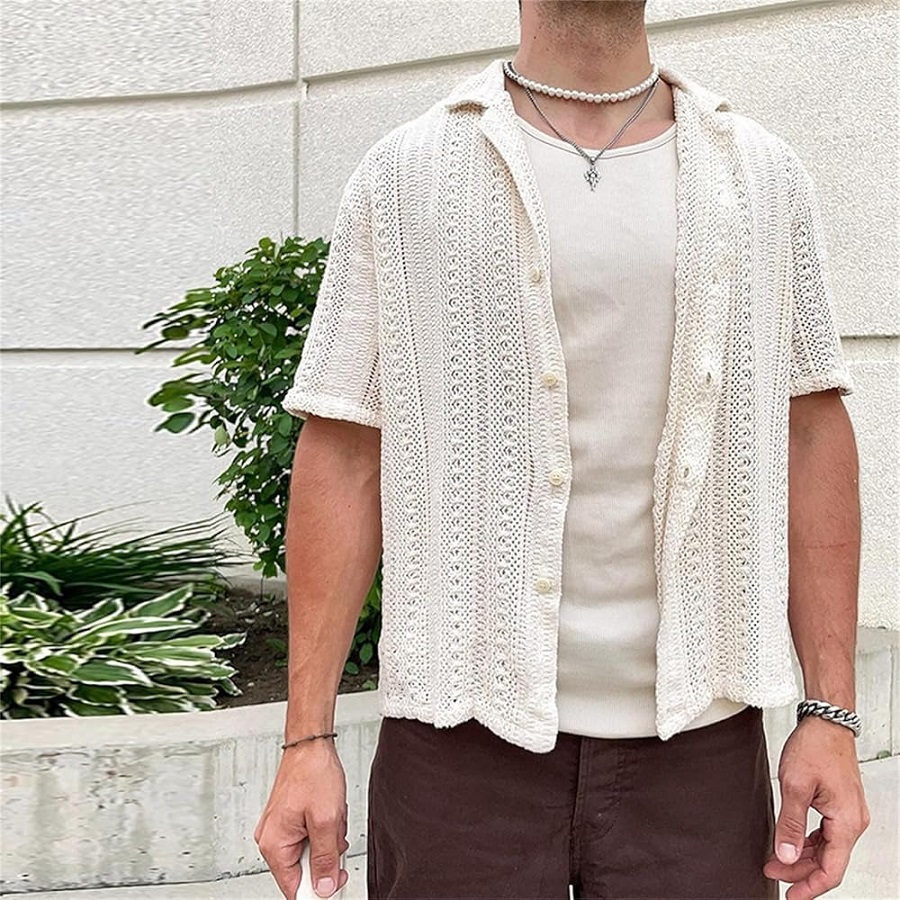
Choosing the right colors and yarn types can transform the look of your crocheted shirt. Mix bright and neutral shades for a balanced look, or go bold with vibrant hues. Consider yarn texture as well. A silky bamboo yarn offers a different feel and sheen compared to a matte cotton. The key is to select colors and yarns that reflect your personal style and suit the shirt’s intended use. For instance, a beach cover-up might look best in light, airy colors and yarn, while a winter wear piece demands warmer tones and thicker yarn.
Introducing Variations in Stitch Patterns
Altering stitch patterns is a great way to add texture and visual interest to your shirt. Start with a simple stitch as your base, like single crochet. Then, experiment by adding a row of double crochets or a set of cluster stitches. Try different combinations until you find one that pleases you. Remember to keep track of any changes you make so you can repeat the pattern or adjust it in future projects. Each variation you introduce can significantly change the garment’s style and could become your signature touch in your crochet work.
Finishing Touches for a Professional Look
Once your crocheted shirt is complete, add some finishing touches to enhance its look. These details can make your shirt appear more polished and professional. Let’s look at how to give your work the perfect final touches.
Blocking and Shaping Your Crocheted Shirt
Blocking is essential to ensure your shirt has the right shape and size. To block your shirt, first dampen it. Use a spray bottle or wet it slightly under water. Then, place it on a flat surface. Use rustproof pins to stretch it to the desired dimensions. It’s important to follow the pattern’s sizing guide here. Let it dry completely. This process aligns your stitches and gives the shirt a refined look.
Attaching Sleeves and Decorative Elements
If your pattern calls for sleeves, attach them once both the body and sleeves are blocked. Lay out the pieces on a flat surface. Line up the stitches and seams carefully. Use the same yarn to sew them together. Stitch evenly for a seamless look. Adding decorative elements like buttons or lace can enhance your shirt. Select items that match your shirt style.
Caring for Your Crocheted Shirts
Proper care is key to extending the life of your crocheted shirts.
Best Practices for Washing and Storing Crocheted Garments
To keep your crocheted shirts in top shape, follow these washing guidelines. Hand wash them gently in cool water with a mild detergent. Avoid twisting or wringing the fabric. Rinse well and press out excess water with a towel. Lay flat on a dry towel to air dry. For storage, fold them neatly. Avoid hanging them, as this may stretch the yarn.
Repairing and Upcycling Worn Crocheted Shirts
Upcycling is another option for worn shirts. Get creative and add new elements. Consider crocheting new edges or incorporating the shirt into a new project like a quilt or a pillow cover. This not only gives new life to your shirt but also allows you to showcase your evolving crochet skills.