Introduction to Shirt Hemming
Hemming shirts is a vital skill for tailoring and alterations. It’s the process of shortening the length of a shirt by folding and sewing the bottom edge. Hemming can improve fit and give shirts a professional finish. In this guide, we’ll explore how to hem shirts with precision and care.

The Basics: Measuring and Cutting
When hemming shirts, precise measuring and cutting are essential first steps. Here’s how to ensure accuracy and avoid common pitfalls:
Accurately Measuring the Shirt Length
- Wear the shirt before you measure. This helps account for how it sits on your body.
- Use a tailor’s tape to measure from the current hem to the desired length. Mark it with pins.
Choosing the Right Scissors for Cutting
- Select sharp fabric scissors to ensure clean cuts.
- Avoid regular scissors as they may lead to jagged edges and uneven cuts.
Cutting Techniques
- Lay the shirt flat on a cutting table or surface.
- Follow the pin line for guidance to cut across evenly.
- Take your time and cut slowly to avoid mistakes.
By mastering measuring and cutting, you set a strong foundation for professional-grade hemming. Remember to measure twice and cut once, as remedying a mistake can be challenging once the fabric is cut.
Selecting the Right Hemming Tools and Materials
Selecting proper tools and materials is as important as the technique itself. The right equipment can make the task of hemming shirts easier and more precise. Here’s a list to get you started:
- Sewing machine: A basic machine is fine, but ensure it has a straight stitch.
- Iron and ironing board: For pressing the hem before and after sewing.
- Thread: Match the color closely to the shirt for a seamless look.
- Needles: For both hand sewing and the sewing machine, should be sharp and the right size.
- Pins: For securing the fabric in place before you start sewing.
- Seam ripper: In case you need to remove stitches and start again.
- Tailor’s chalk or fabric pen: To mark the fabric without staining it.
- Measuring tape: To measure the length accurately.
- Fabric scissors: Make sure they are sharp for clean cuts.
- Hem gauge: A ruler designed for measuring hems.
Having these tools on hand will prepare you for the hemming process. Also, invest in quality materials as they lead to better finishes and more durable hems. Before you begin, organize your workspace. Ensure everything is within reach. This organization keeps the process flowing without interruption or error.

Step-by-Step Guide to Hemming Shirts
A step-by-step guide can turn the daunting task of hemming shirts into a simple process. Here’s how to proceed:
- Prepare the Shirt – Start by washing and ironing the shirt. This ensures it’s free of wrinkles and shrinks before you begin.
- Measure Twice – With your measuring tape, double-check the length you desire. Use pins to mark the new hem around the shirt.
- Press the Hem – Fold the bottom edge to the pin line and iron it flat. This makes sewing easier.
- Pin the Hem – Remove each pin as you fold the fabric up, then re-pin to secure the new hem in place evenly.
- Baste the Hem – Do a temporary stitch by hand or with a sewing machine. This holds the fabric for the final sewing.
By following these steps, you should achieve a neat, professional hem on your shirt. Remember to take your time and work with care for the best results. Hemming shirts is not just about cutting and sewing; it’s about precision and patience. With practice, you’ll find your rhythm and confidence in hemming shirts with ease.
Tips for Hemming Different Types of Shirt Fabrics
Different shirt fabrics require unique approaches to achieve a perfect hem. Here are tips tailored for hemming various materials:
Cotton and Linen Shirts
- Prewash these materials to avoid shrinking after hemming.
- Iron the fabric well to ensure even hems.
- Use a medium-hot iron to press the hems before and after sewing.
Silk and Satin Shirts
- Exercise extra care as these fabrics are delicate.
- Place a press cloth between the iron and the fabric to avoid marks.
- Hand stitch or use a narrow hem foot on the sewing machine for best results.
Stretch and Knit Shirts
- Use a ballpoint needle to prevent snagging the fabric.
- Opt for a stretch stitch setting on your sewing machine.
- Avoid pulling the fabric while sewing to prevent warping.
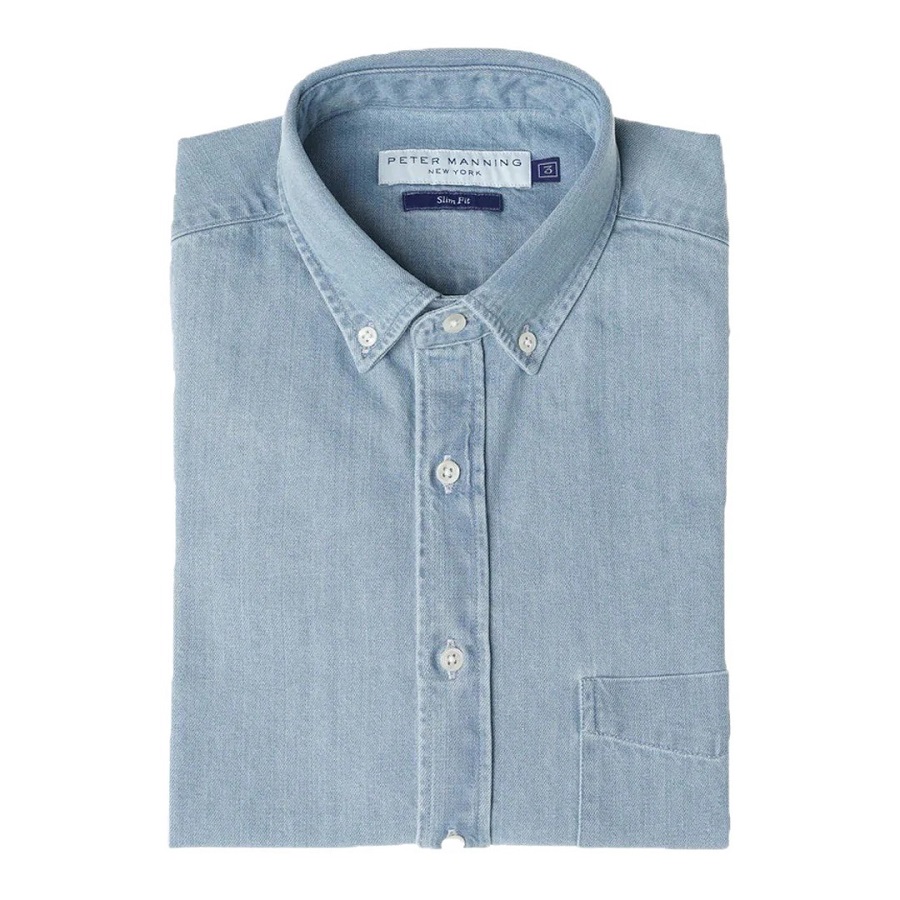
Denim and Heavy Shirts
- Choose a strong, heavy-duty needle for your sewing machine.
- Sew with a longer stitch length to navigate through the thick fabric.
- Reinforce the hem with multiple stitches for durability.
Wool and Flannel Shirts
- Use a steam iron to press hems without flattening the fabric’s texture.
- Wool requires gentle handling, so avoid pulling or stretching while hemming.
- Stitch carefully, as wool can be unforgiving with misplaced holes.
Remember, hemming shirts flawlessly depends not only on the method but also on acknowledging the uniqueness of each fabric type. Make use of specific tools and adjust your technique accordingly to ensure professional results.

Common Hemming Mistakes to Avoid
When you start hemming shirts, it’s easy to make mistakes that can affect the final look. To help you achieve professional results, here are common errors to steer clear of:
- Skipping the Prewash. Always wash fabric before hemming to prevent future shrinking.
- Incorrect Measurements. Double-check your measurements to ensure accuracy before cutting.
- Cutting Without Guidelines. Use pins or tailor’s chalk to mark your cut line clearly.
- Using Dull Scissors. Sharp scissors are crucial for a clean, straight edge.
- Rushing the Sewing Process. Take your time when sewing to maintain a straight, even hem.
- Choosing the Wrong Needle. Pick a needle suited for your fabric type to avoid damage.
By being cautious of these common mistakes, you’ll enhance your hemming skills and finish with a shirt that looks great and wears well. Remember, care and attention to detail are the keys to perfecting shirt hemming.
Adding Professional Touches to Your Hemmed Shirts
After mastering the functional aspects of hemming shirts, it’s time to add professional touches. These final flourishes elevate a simple hem to the level of expert tailoring. Here are ways to refine your work:
- Topstitching: Add a row of stitching above the hem for a tailored look.
- Blind Hemming: Use this technique for a virtually invisible stitch on the outside.
- Steam Pressing: Gently steam the hem to relax stitches and give a soft finish.
- Hand Stitching: For delicate fabrics, fine hand stitching can be superior.
- Even Spacing: Ensure your stitches are evenly spaced for uniformity.
- Thread Quality: Invest in high-quality thread that won’t break or fray over time.
- Meticulous Finishing: Trim all loose threads and ensure the inside hem is neat.
Implementing these techniques requires patience, but the superior results speak volumes. When hemming shirts, do not just focus on finishing the task; aim for a shirt that both looks great and demonstrates your attention to detail.
Caring for Your Hemmed Shirts
Caring for your hemmed shirts is crucial to maintain their look and longevity. Here are some tips for keeping your shirts in tip-top condition:
- Wash Carefully: Follow washing instructions specific to the fabric type. This ensures the hem stays intact and the fabric remains undamaged.
- Iron With Caution: Use appropriate heat settings when ironing. For delicate fabrics, use a press cloth to prevent scorching. Always iron hems gently to avoid pressing out the stitches.
- Store Properly: Hang shirts on quality hangers to keep the hem straight. Avoid folding which might crease the newly hemmed edge.
- Quick Repairs: Address loose stitches right away to avoid unraveling. Keep a sewing kit handy for minor touch-ups.
By following these care guidelines, your hemmed shirts will look professionally tailored for a long time. Regular care keeps them crisp, clean, and fitting well. Remember to treat your hemmed garments with the same precision you used during the hemming process.